Figure Skater Essentials – Top Ten Must Haves!

What are figure skater essentials? When I first bought my children ice skates, I was a bit lost trying to determine what else I should provide for them. After asking their coaches and other skater-parents an annoying number of questions over a couple of months, I was able to piece together what my new figure skaters really needed. It would have been nice, though, if I’d had all of that information when I was first  looking at buying skates.

So without further ado, here’s SkaterDad.com’s top ten essentials for new figure skaters.

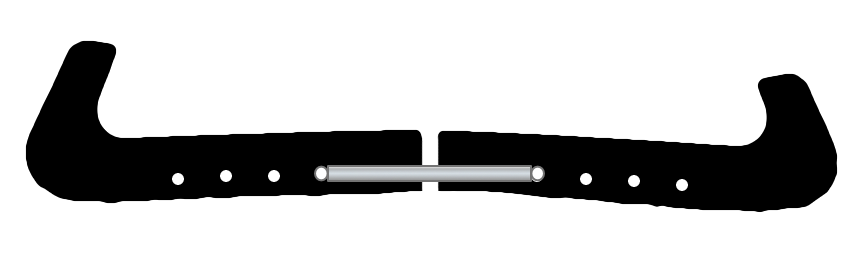
New Figure Skater Essentials

Figure Skater Essentials - Top Ten Must Haves

Breakdown of the Figure Skater Essentials

For each of the essentials I listed above, here’s a bit more detail and some links to more information.

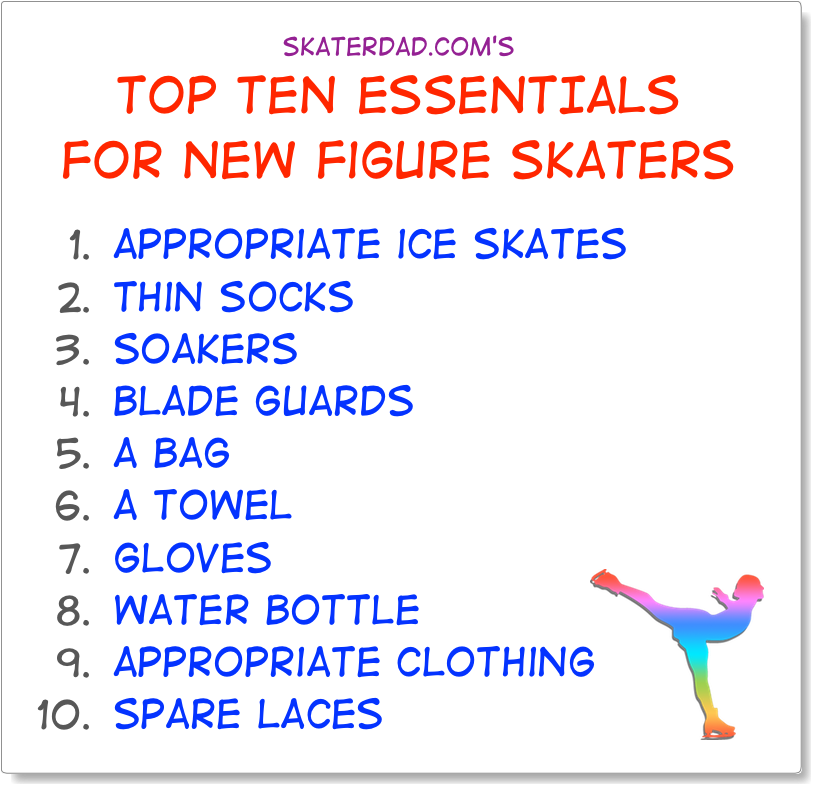
1. Appropriate Ice Skates

This is really the most important of the figure skater essentials. I know it sounds silly, but if you are going to buy ice skates, make sure they are suitable for the stature of the child and the level of their skating.

Link: Renting Skates versus Buying Skates (SkaterDad.com)

2. Thin Socks

Perhaps counter-intuitively, figure skaters tend to wear thin socks (maybe trouser socks for women, and thin dress socks for men). Some figure skaters even go barefoot, which should reaffirm that a thick sock is neither desirable, nor a requirement for figure skating. Soft rental skates are far more tolerant of thick socks, but when you buy your own skates, thick socks tend to go out the window.
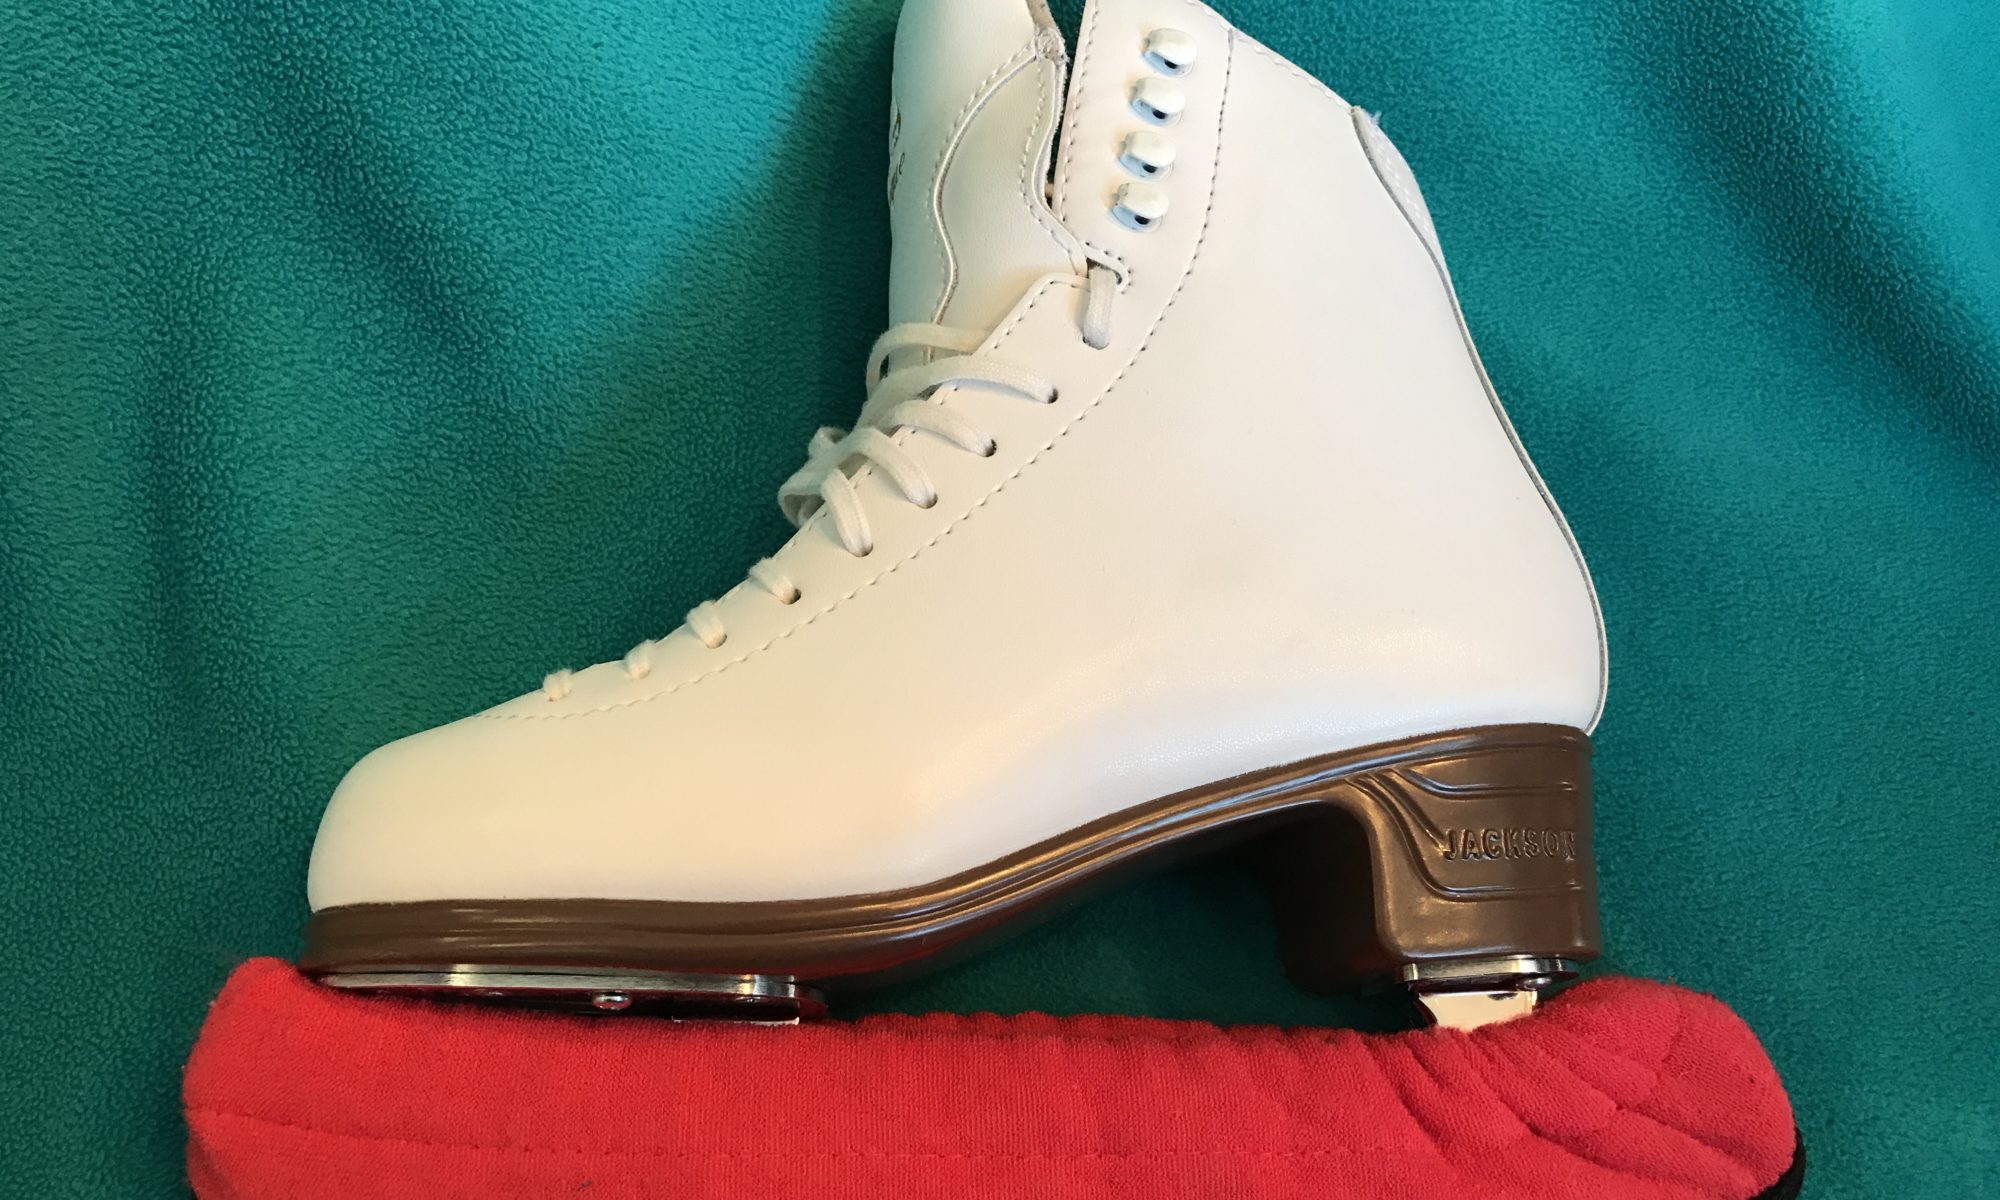
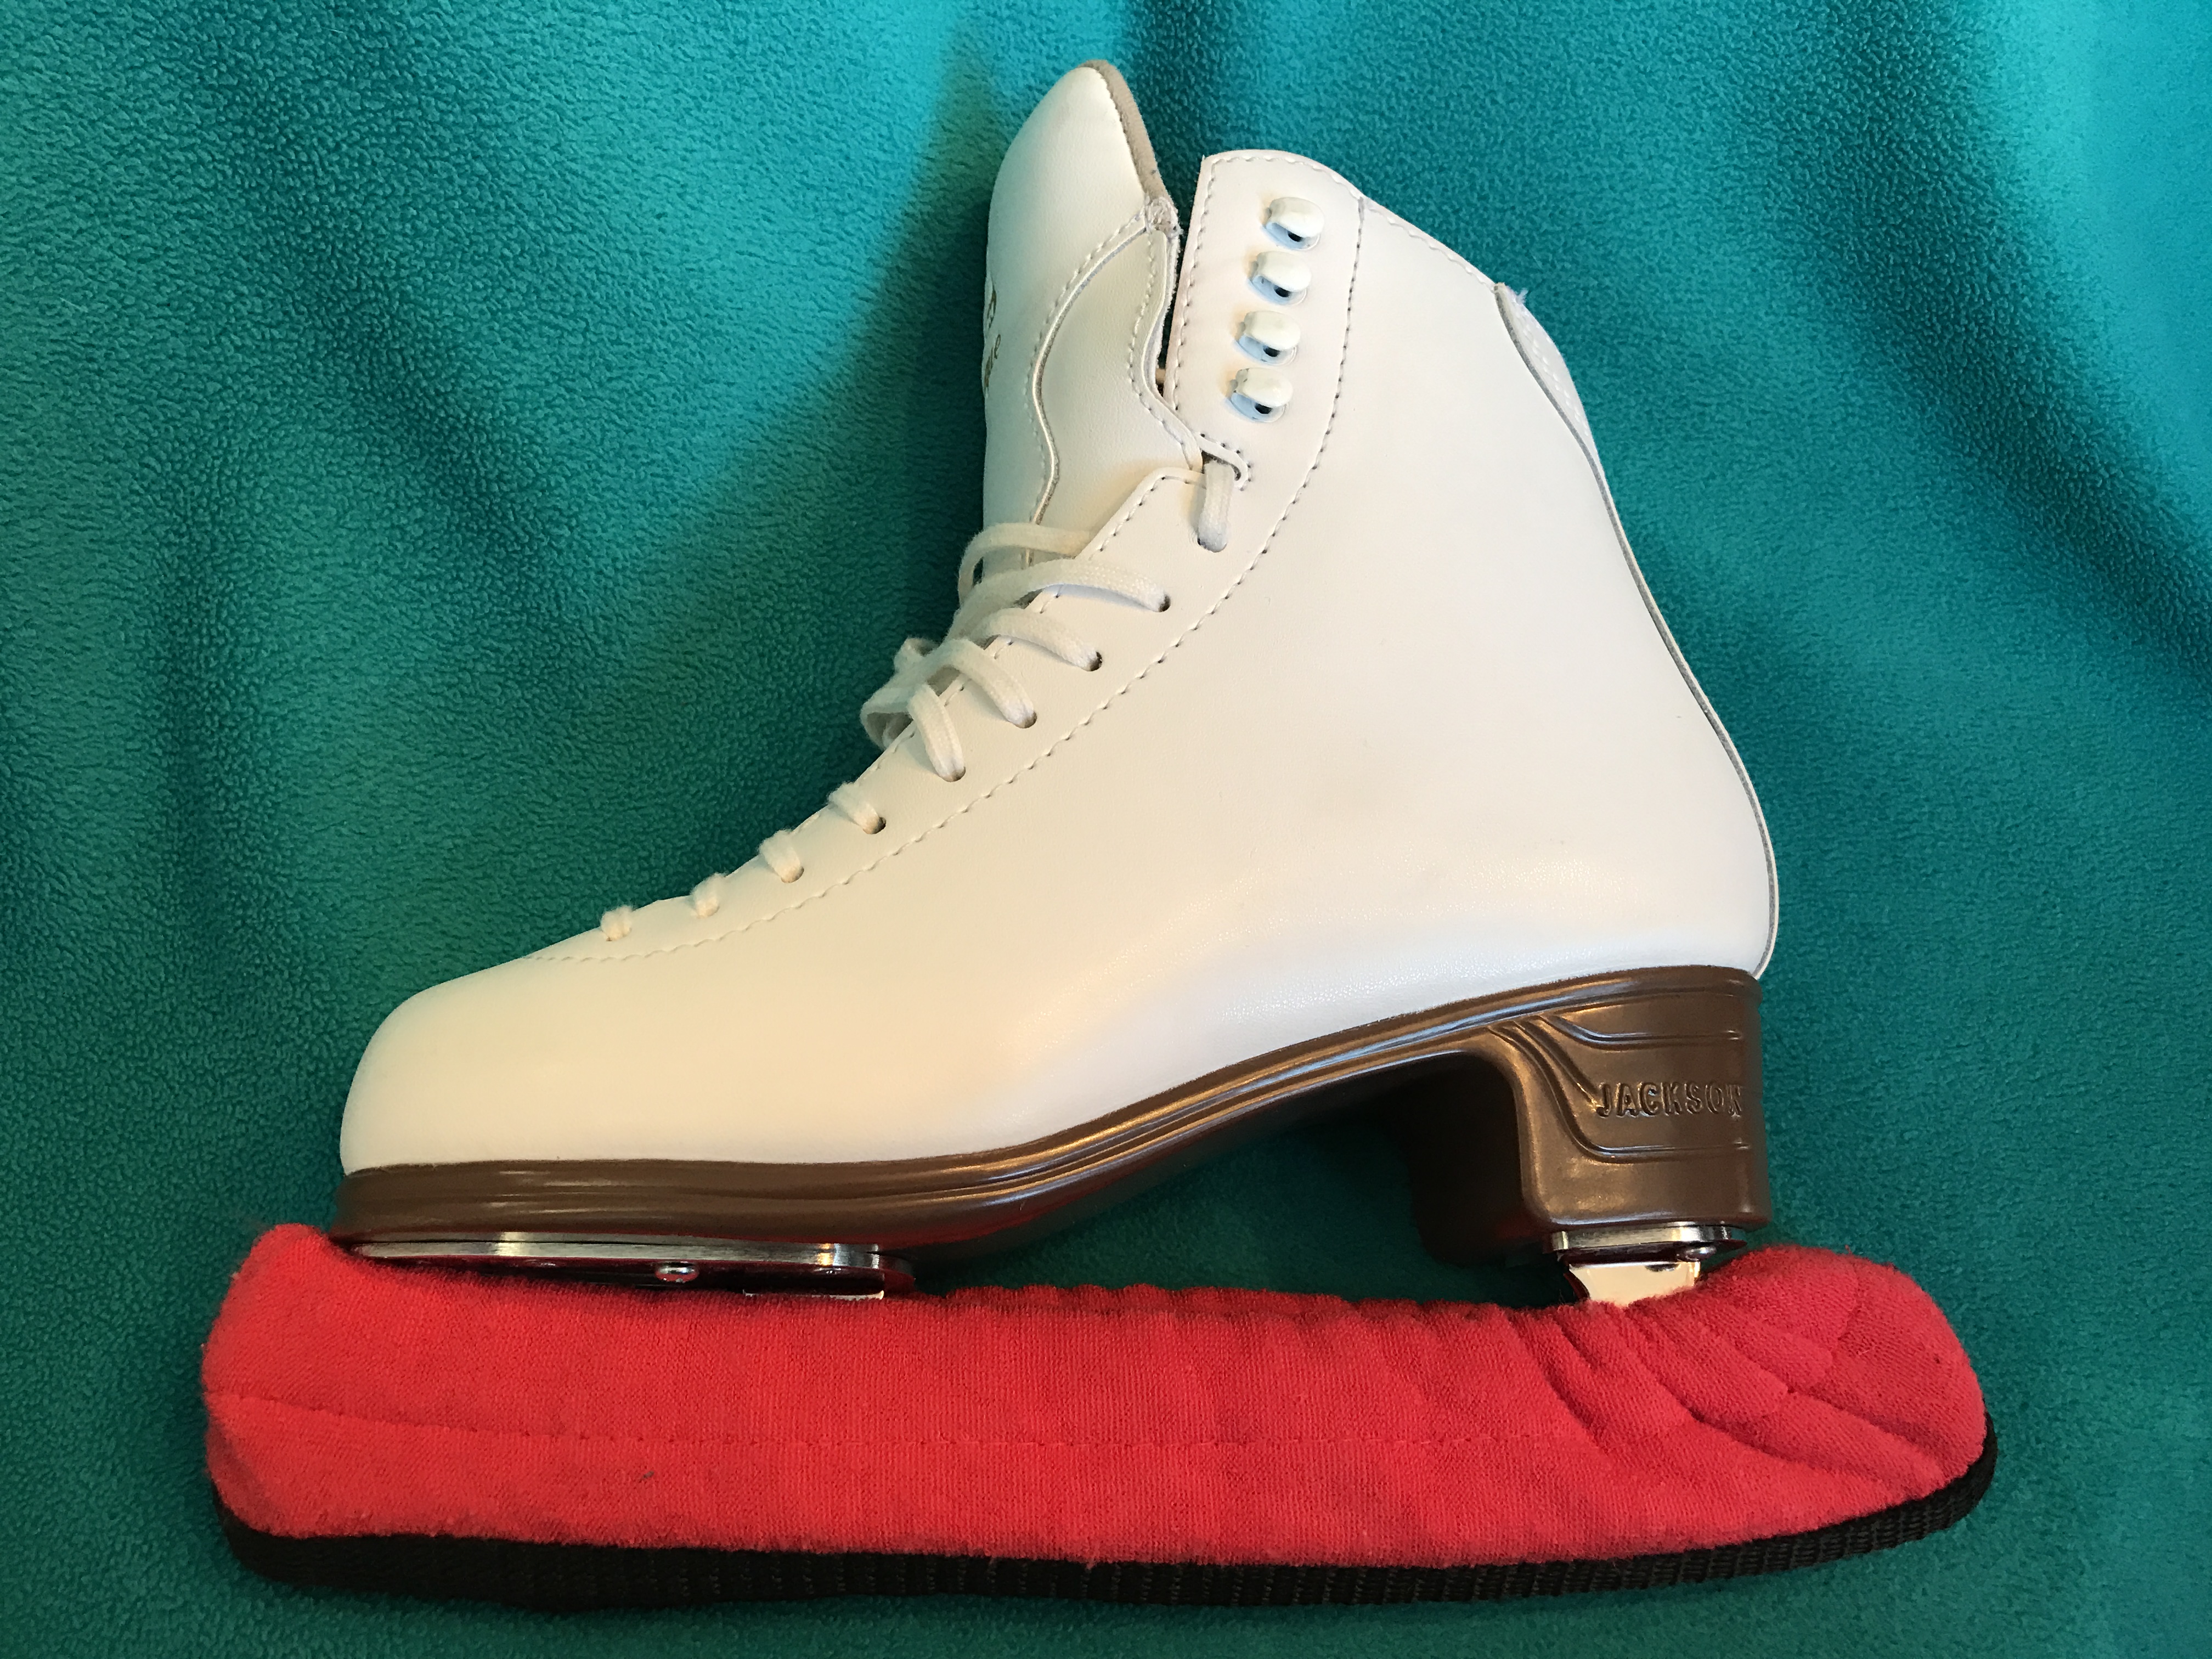
3. Soakers

As figure skater essentials go, this one is pretty critical. No matter how carefully you dry your blades when you come off the ice, the metal is so cold that moisture will condense on it for a while after you finish skating. The simple equation is Water + Blades = Rust. In my opinion, soakers are a non-negotiable item.

Link: Soakers: Why Are They Necessary? (SkaterDad.com)
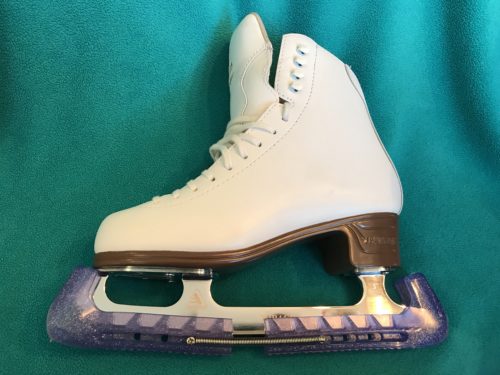
4. Blade Guards

Cheap, colorful, and they save your blades from getting ruined when you need to walk off ice or off the ice rink rubber surfaces. Buy them. Love them. Bring them with you.

Link: What Are Blade Guards? (SkaterDad.com)

5. A Bag

Don’t be under any illusion that it will be ok to bring your new figure skates back and forth to the ice rink in the cardboard box in which they were originally packaged. Trust me, I tried, and a) the box is bulky and inconvenient; b) it won’t last very long before the “handle” (i.e. hand hold) breaks; and c) there’s not much room in there for the other things you need to bring with you.

You do not–under any circumstances–have to splash for the ~$170 Zuca skate bag with the flashing LED lights in the wheels. I know the other (mostly) girls have them and they are indeed super cool, and your child will undoubtedly think that you are the most awesome parent in the whole world ever, EVER. The bags I bought for my children cost around $15 each; my kids still talk to me. Of course, if you can find somebody selling a used Zuca for $30, well, that’s a different question.

Link: Choosing an Ice Skating Bag (SkaterDad.com)

6. A Towel

How are you going to dry your skate blades and soles after you finish skating? I can’t stand using paper towels snagged from the snack bar or the bathroom; they feel like they are scratching away at the beautiful shiny blades I paid so much for. Thus when you go skating I advise bringing either a towel, a chamois cloth, a terry cloth, or anything else soft and absorbent which will dry the blades gently effectively. Yes, this includes the ShamWow, if that’s what floats your boat!

7. Gloves

Most people I’ve spoken to tell me that their hands get cold when they skate. Gloves, therefore, are probably a requirement for most skaters, during practice, at least. There’s no special magic to this item; buy whatever gloves suit your budget, keep your hands warm and allow you to still grab the rail, a skate (if you’re doing those kind of moves) or your partner’s hand (for pair skating).

8. Water Bottle

Skating is exercise, and that means you’ll get thirsty. A water bottle is something you can bring rink-side without upsetting anybody. For perhaps obvious reasons, don’t fill it with anything else except water; nobody wants a sticky brown soda puddle freezing on the ice surface. Yuck. And anyway, drinking soda during a vigorous skating workout sounds like a recipe for trouble, if you ask me.

9. Appropriate Clothing

What is appropriate clothing? There’s no right answer, but if you believe many skaters there are some wrong answers. The only thing it seems to be generally agreed is inappropriate to wear for skating is a pair of jeans, in part because the seams can chafe, in part because they’re not typically very flexible, and in part because once wet, jeans tend to hold the water and then get freezing cold, which is not very nice. That said, I’ve seen stretch jeans worn quite successfully before, so just expect a little gentle ribbing if you wear them. Beyond that, the general idea is to wear something that doesn’t restrict the movement of your arms or legs, and that keeps you warm enough. On the bottom half, boys typically seem to wear sweat pants or tracksuit pants, and girls typically lean towards lined leggings or sweat pants. On the top half I see everything from t-shirts (my children are apparently impervious to cold) through long sleeve shirts, to sweaters, hoodies and sweatshirts. The trick is to bring layers of clothing so that the skater can adjust to how they feel out on the ice. Once it’s a little clearer what works best for each skater, it’s easier to bring exactly what’s needed going forward.

10. Spare Laces

I’m guilty of failing on this one, but if a lace breaks just before a skating session (or worse, a competition), somebody is going to be upset. Whether the child will be more upset because they can’t skate today, or I would be more upset because I just wasted an entrance fee, is another matter entirely. Laces are relatively cheap, so having a spare pair of the right length in your bag will at some point save your figurative bacon. And now I should really go and order those spares…

Soakers: Why Are They Necessary?

Soakers / Blade Covers

Once I purchased skates for my children, I entered into the fun fun world of accessorizing. Some of the accessories are purely for appearance, but some—like soakers—are absolutely essential for everybody owning a pair of skates.

Soakers / Blade Covers

Soakers

A soaker (also known as a blade cover) does exactly what it says on the tin; its soaks. Specifically, its job is to soak up moisture from the blade once the skate has been taken off, so that it doesn’t hang around and cause rusting (which shortens the blade’s life). You can see a red soaker on the blade of the skate in the picture above. They’re simple and thankfully they’re also very cheap.

How To Use Soakers

When your child finishes skating, they should wipe the blade and the boots (the soles in particular) down with a cloth or towel in order to remove as much moisture as possible. There’s more to this than might at first meet the eye, because the blade has just spent time pressed into ice, so it’s really quite cold by the time the boot comes off. Cold metal is like a magnet for moisture in the air, and consequently even if you dry the blades diligently, more moisture will inevitably accumulate on the cold metal surface of the blade, and if not removed will likely cause rusting.

Once the blade (including the mounting hardware, not just the sharp part) is as dry as possible, put on a soaker. That way if any moisture condenses on to the blade, the soaker will wick it away and let the blade stay dry. This is, therefore, how ice skates should be stored for transport after skating. Should soakers be removed? Well, some people say to leave them on until the next time the skates are used, and others say that once the skate has been inside for a while (i.e. has normalized the blade temperature with the interior), the soakers should be removed so that they themselves can dry. I suspect both are ok so long as the skates aren’t being left inside a moisture-holding sealed bag all the time. The skates need to be dry both inside and out, and if they are left with a damp soaker in a reasonably well-sealed bag, just as a used Gym/P.E. kit will start to mold (UK: mould) and go rank pretty quickly, you can bet that something similar will happen to your beautiful skates. See the page on bags for some examples of skate bags which can help in that regard.

It is of note that in order to minimize condensation on the blades, skates should be stored somewhere relative dry between uses; they shouldn’t be left in a garage or in the trunk (UK: boot) of a car.

How Much Are They?

Cheap, cheap, cheap (from about $6 upwards)! Or expensive. It just depends on your tastes. Here are some examples (click for links to Amazon):

For adults the soakers tend to be one size fits all, but some companies also offer a kids size for smaller skates. It doesn’t matter whether you go for plain soakers or if you splash out on some crazy character blade covers; the point is, if you have skates and don’t have soakers, you need to buy some right now.

Blade Guards

What Are Blade Guards?

Blade Guards

Blade guards are plastic/rubber covers designed to protect the blades while off the ice. Ice skate blades may be made of steel, but the blades’ fine edges are susceptible to chipping and denting if used to walk around on hard or dirty (especially gritty) surfaces. Chips in the blade edges mean less control on the ice, and may require aggressive sharpening of the blades to remove them. The additional metal removed (more than in a regular sharpening) in turn reduces the lifespan of the blades, because let’s face it, there’s only so much metal you can remove before the toe picks are touching the ice.

How Much Are Blade Guards?

Blade guards are cheap enough that nobody should have ice skates without them. In the US, Amazon prices range from around $6 up to $15.

When Should I Use Blade Guards?

The general advice is that there are only two surfaces on which skates can or should be worn without guards:

  • the ice
  • rubber flooring

Therefore, blade guards should be worn when walking around in ice skates on any other surface except ice and rubber flooring.

The good news is that most ice rinks use rubber flooring in most key areas, so typically within the rink area you’ll be walking on rubber. The bad news is that even on the rubber surfaces, especially in the busier public areas, dirt accumulates. Grit and dirt from outside is carried in on shoes, and stepping on that—even on top of rubber—can dull or chip the blades.

The best advice therefore is that blade guards should be worn from when the skates are put on, right up to the edge of the ice. As a more general rule, the less you walk in skates off the ice, the better.

Are There Different Sizes?

Yes, because blades are different lengths, but the guards I’ve seen are one size fits all and either have an adjustable locking mechanism, or can be cut to size to fit the blade. There are two main types I typically see:

Latch Type

This type of guard is probably fastest to set up, and probably even fastest to put on and take off, although they are not my own preferred guard. Usage is simple: put the front of the blade in the front end, then clip the latch over the back of the blade. The latch can be easily and quickly moved as needed for the length of blade. Note that there are both figure skate and hockey skate variants of these guards, so make sure you are buying the right kind!

Spring Type

For the skater wishing to express their own style, the spring-type blade guards come in a wide variety of colors and styles including solid colors, translucent with glitter and even colors that change with temperature. Each guard is made up of two pieces, with two springs holding them together in the middle. Fitting these to a blade requires a little bit more effort than the latch type. The blade size is checked, it is matched up with an (included) chart, then each of the four pieces comprising the pair of guards is cut to the appropriate length. Then the springs are screwed in to place. There aren’t any instructions on how to do this, so I will demonstrate this below. It’s of note that while all the pictures show the blade guards meeting perfectly in the middle, this is really not how they end up looking in most cases, because of the variable gaps depending on blade length.

To use the guards, put the toe pick in one end of the guard, then pull back on the rear end of the guard to stretch the spring so that it will go over the back of the blade. The springs hold the guard tightly in place. Initially these guards can be a little tight on the blade, but they loosen up fairly quickly.

Fitting The Springs

Once the two halves of each blade guard have been cut to length, butt the two cut ends together and hold up the springs next to them to find the most appropriate holes through which to mount the springs. Depending on where the guards were cut, it may be necessary either to put a gap in between the two halves, or (if you are feeling brave) to very slightly stretch the spring in order to reach the nearest hole:

In this case, the holes are very slightly close together than the length of the spring, so the two halves are separated a little in order to align the rings on the end of the springs with the holes.

The springs, confusingly, come with only one screw each. This is because each screw will assist in securing two springs, as shown below. One screw should be used on each side; when it gets through to the other side, position the ring from the other spring and keep screwing it in so that it locks into that other ring. Looking from above, the screws go in like this:

Here’s how it looks from the side, with a real blade guard. Note that you see a screw head on the left, but on the right you see the end of the screw coming through from the other side, holding the other end of the spring in place. The other side looks just the same, as you would expect:

Blade Guard Closeup

When Shouldn’t I Use Blade Guards?

  • For any extended period of time off the ice, it’s better to take the skates off and walk around in shoes rather than in skates.
  • Blade guards should never be left on the blades once the skates are taken off. The plastic/rubber can allow moisture to collect, and having water in contact with the skates in between skating sessions can cause rust to the blade and, if you have cork/leather soles on your skates, rot to the soles and heel.

Blade guards get put on when the skates get put on, and taken off when the skates are taken off.

Additional Tips

Put Your Name On Them

At the very least, I’d suggest using a Sharpie to put your initials somewhere on the blade guards. There are only a few common types of guards that I see regularly, and that means lots of duplication between skaters.

Clean Them!

Dirt and grit can get inside the blade guards, and walking on guards with grit inside can also cause damage to the blades. To that end, I suggest cleaning them out regularly to keep the insides as clean as possible. You can’t avoid all damage to blades (even on the ice), but minimizing risk will help keep the blades in good condition for as long as possible.