Those brand new skates have finally been delivered! The box is opened excitedly, and as the skates are pulled out of their tissue paper cradle, a small plastic bag of screws falls out and hits the floor. What are they for, and should they be used? Somewhat remarkably, new skates seem to come with a distinct lack of clear instructions, so in this article let’s look at what those screws are for, because as it turns out they are important!
How Are The Blades Attached To The Boot?
There are two main ways in which blades are attached to figure skating boots (screwed or riveted), and four ways they’re most likely to be purchased (riveted, fully pre-mounted blade, partially pre-mounted blade, separate boot and blade).
Low Price Skates / Rivets
Boots towards the low end of each manufacturer’s product range may well have a blade which has been permanently riveted to the boot. The blade therefore can not be removed, but should also be pretty secure as a result.
It is in theory possible on some boots to drill out the rivets and re-mount the blade if necessary, but that’s very much an “At Your Own Risk” kind of task. Beyond that, the good news is that if you bought skates with riveted blades, in all likelihood there’s nothing you need to do, and there would not have been a bag of screws in the box.
Low to Mid-Range Skates / Fully Screwed
Some skates are delivered with the blade fully attached using screws.
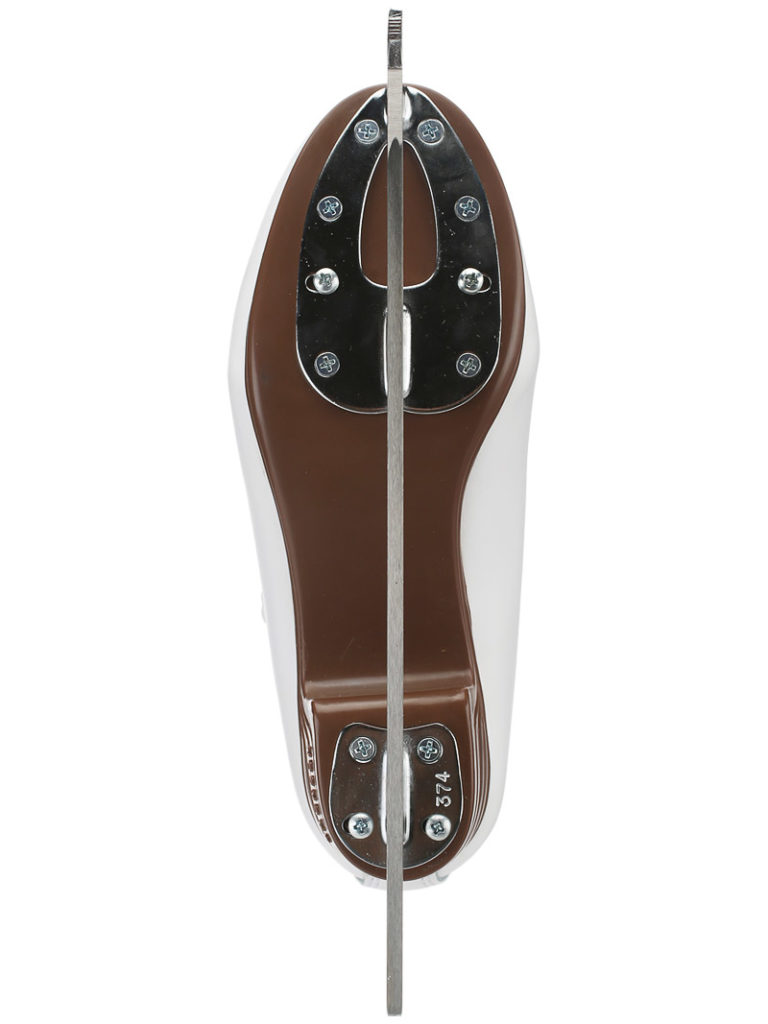
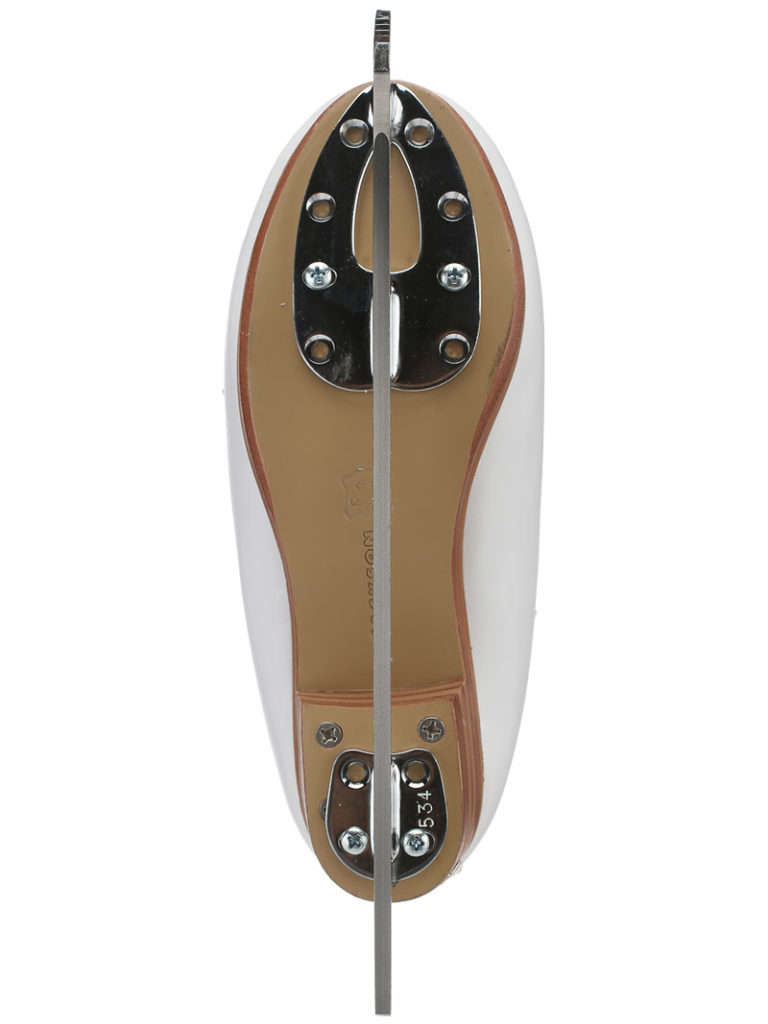
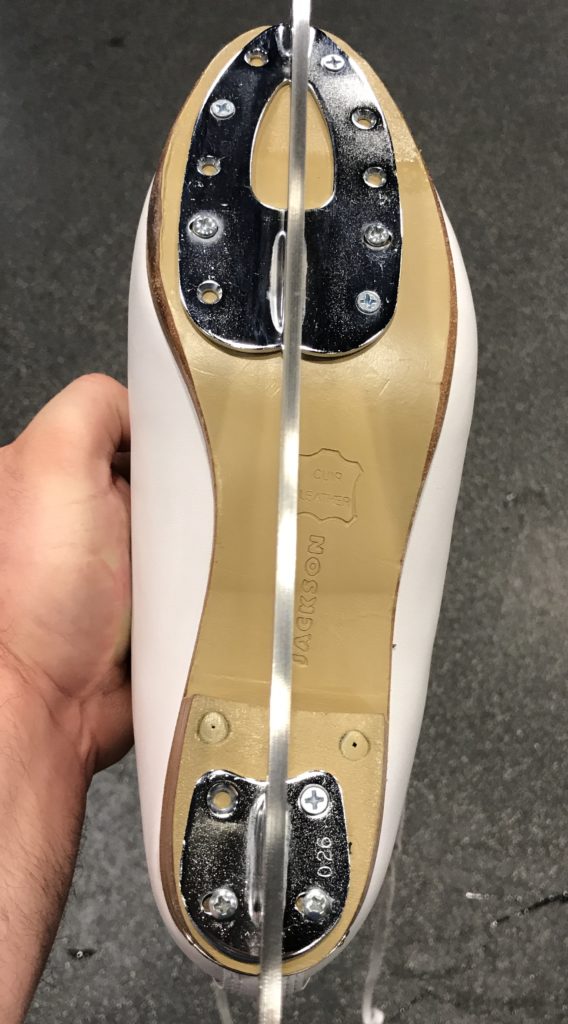
For example, the Jackson Ultima Classique skate (which my youngest child has) comes with a Jackson Mirage blade screwed to the sole. This may come as a surprise to anybody looking at this skate, because there are two types of screw on it (one is countersunk, and one is a flat head). However, the skate images on Ice Warehouse confirm that this is indeed how they come from the factory:
This skate model comes with no bag of screws because all the screws have been put in at the factory. As such there is only one task needed:
- Periodically check the screws; screws can come loose and eventually they can drop out. As somebody who has had a skate blade detach as I took a step, I can offer my assurance that even if the skate itself doesn’t sustain any additional damage, the fall for the skater isn’t pleasant. I ask the skate technician to double check the screws each time I get the blades sharpened.
Mid Range Skates / Partially Screwed
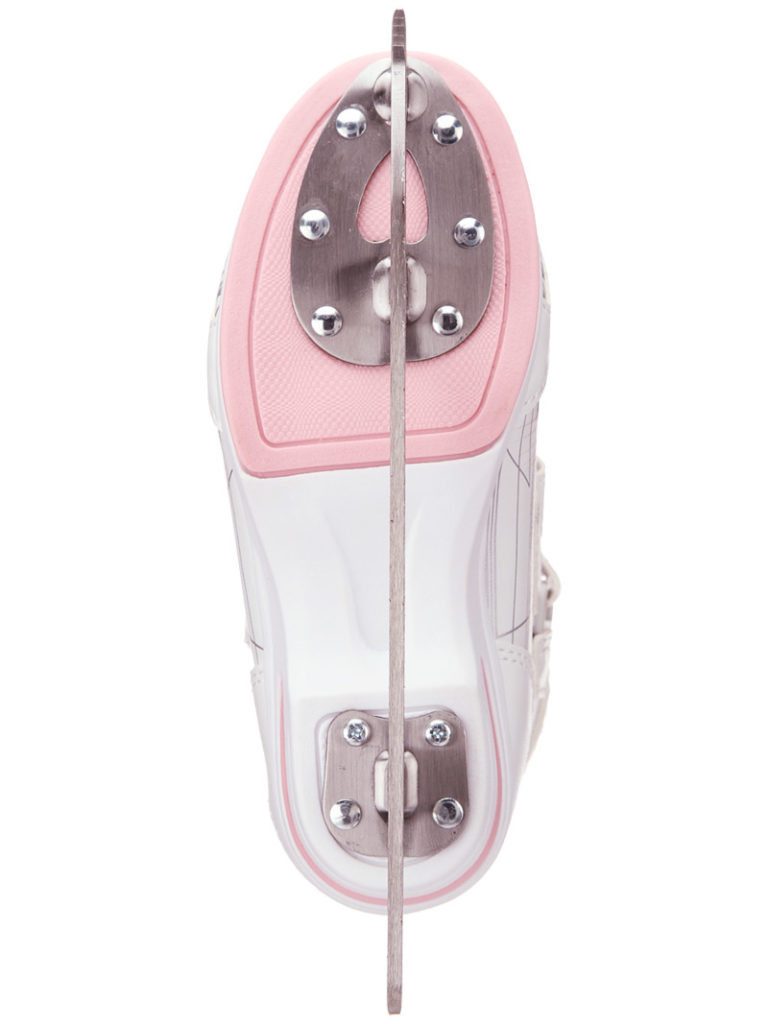
A mid-range figure skate such as the Jackson Ultima Freestyle (which my middle child had) is typically purchased as a bundle, with the blade coming pre-mounted and ready for use. Or rather, mostly ready for use, as evidenced by the little baggy of screws that hides inside the box. Again, an image from Ice Warehouse confirms how the Freestyle would look on delivery:
The blade will be factory-mounted in the most common alignment (intended to work well for most people) with – in this case – just four screws, and there may be a further ten or so screw holes left empty and, coincidentally, there will be around ten screws in the plastic bag. The lack of direction with regard to the screws may be a little worrying, so here’s the deal:
-
- It’s ok to skate on the blades exactly as they come from the factory for a few weeks. However, the boots must not be used for jumps; jumps put a lot of pressure on the blade mount, and as delivered, the blade would likely rip out of the sole as the skater lands. Use this skating time to determine whether the blade mounting position works for the skater or if it needs to be realigned (something usually best determined in conjunction with a coach or a skate tech). Once ready to commit to the blade alignment, continue to step 2.
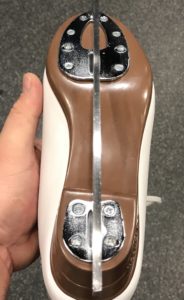
- Don’t grab a screwdriver and put all the screws in. This is really important, because the screws are being driven into (typically leather) soles. The screw threading can strip over time or the soles can rot if left damp, causing the screw to drop out and leaving behind a hole to which a new screw would not grip. The idea is to add about half the screws, leaving at least one unused screw hole at the back, and three to five at the front. That way, there will always be fresh leather to screw into should it be needed. As to which holes to use, and how much to tighten the screws, I have left that decision to my skate technician. I am too scared of ruining an expensive pair of skates by not knowing what I am doing! I’m sure that there are other sites which offer guidance on this subject, but I’m going to play safe and leave it to a professional. Here are my middle child’s Freestyles after having the blade screwed on:
- Periodically check the screws!
Boots Only / No Screws
If you’re (un?)fortunate enough to be buying skates at a level where they come without a blade attached (which usually means higher, or competitive, level skates), strangely enough there may be no screws in the box with the skates; instead the blades usually come with screws.
In terms of steps to take, my recommendation is to mount the blades (tip: get your skate tech to mount the blades) using just four screws just as on the Freestyle boots above, then go and test the skates on the ice. At that point, follow the steps for Partially Screwed skates to complete the process.
Edea Boots
If you have Edea boots, please be aware that Edea sells special screws designed for the thinner soles on their boots, which means really only the Edea screws should be used. Edea also recommends that the screws are installed by an authorized dealer who will have their special mounting rig; some skate technicians may disagree, so that decision is going to be up to the individual.
Do It Yourself?
The obvious question, especially if one is impatient to get on the ice, is “can I do this myself?” Of course! It’s just a question of confidence and care. I know that plenty of people are happy aligning a blade, marking the hole locations, notching with an awl, then pre-drilling the hole before mounting the blade itself. Personally I’d rather leave that to people with more experience than me, but that’s my personal choice.
Whether you choose to use a skate tech or attach the blades yourself, I hope this has been useful in explaining what to do with the screws and why.
