Boot Covers: Just Fashion or an Essential Accessory?

Boot covers are a whimsy; arguably not a skating essential, but I’d put them in the recommended category nonetheless.

What Are Boot Covers?

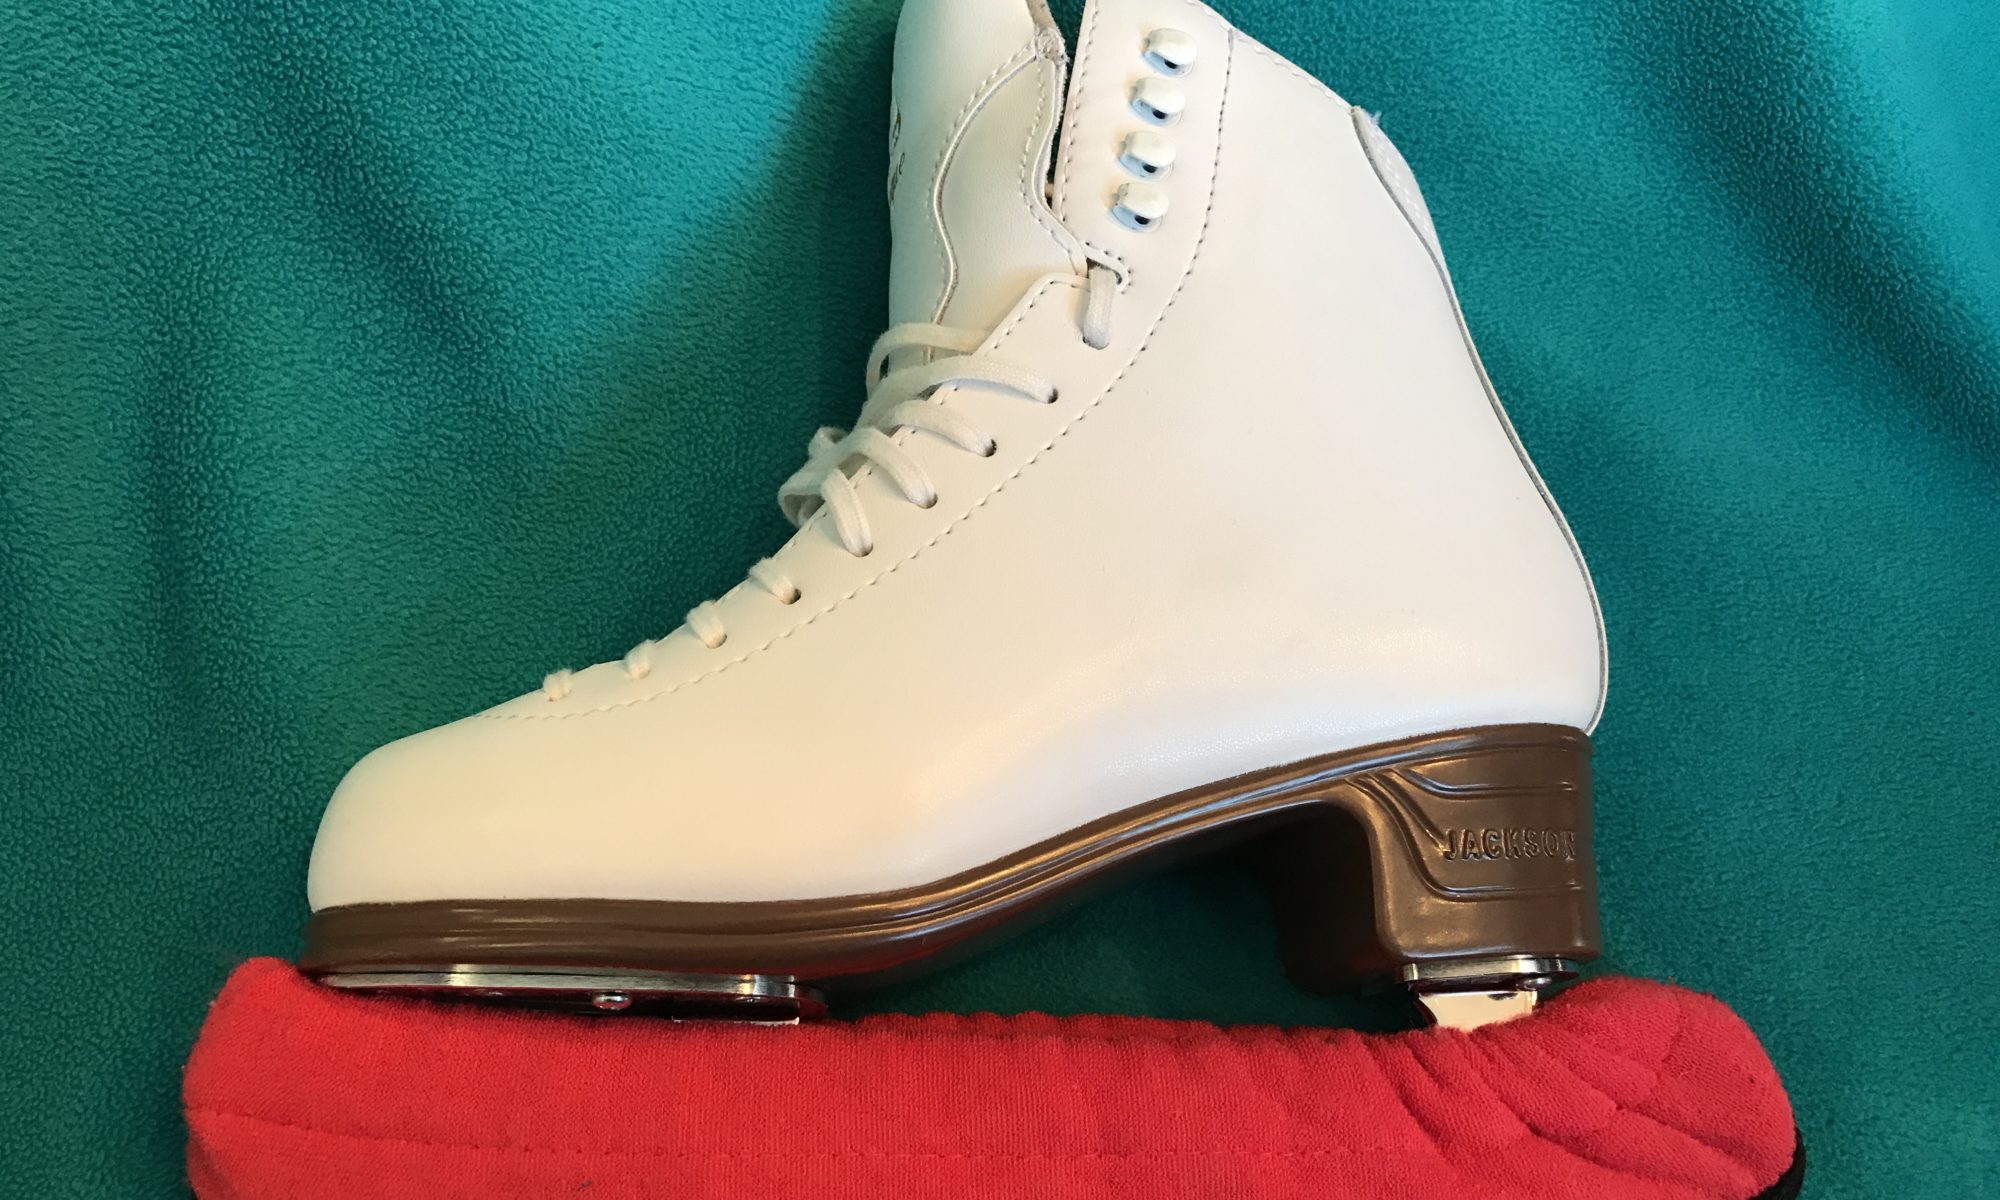
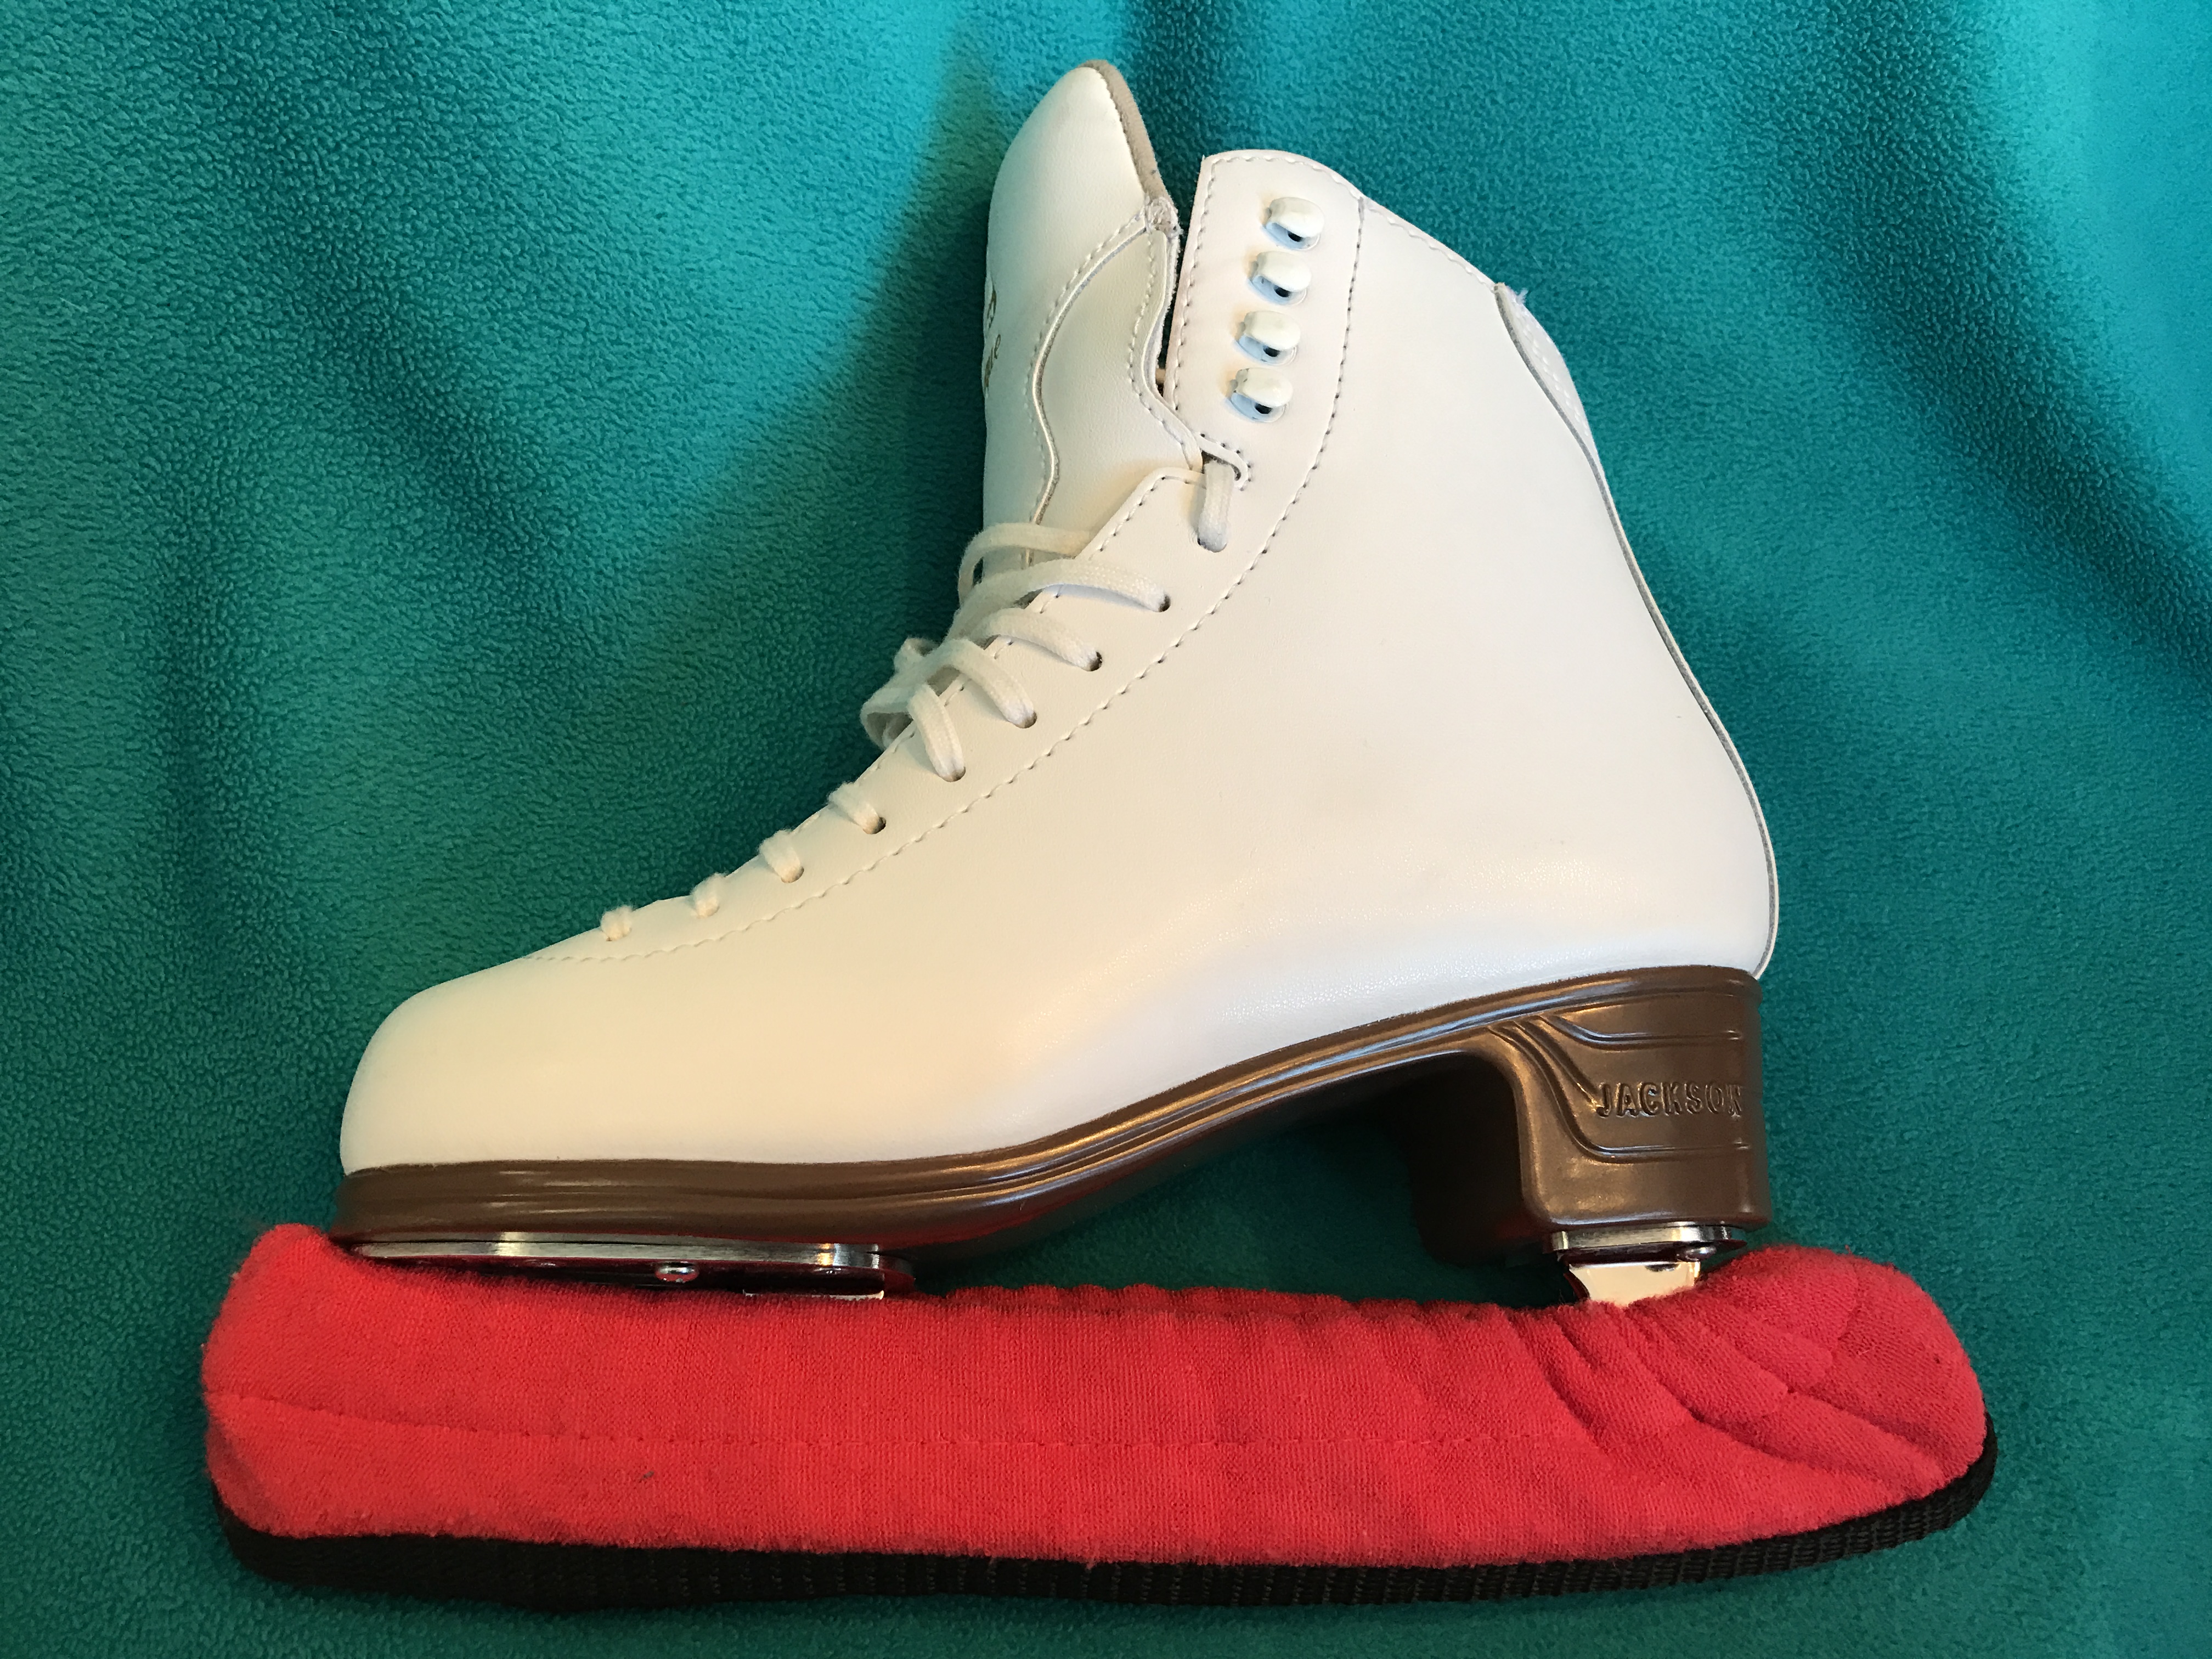
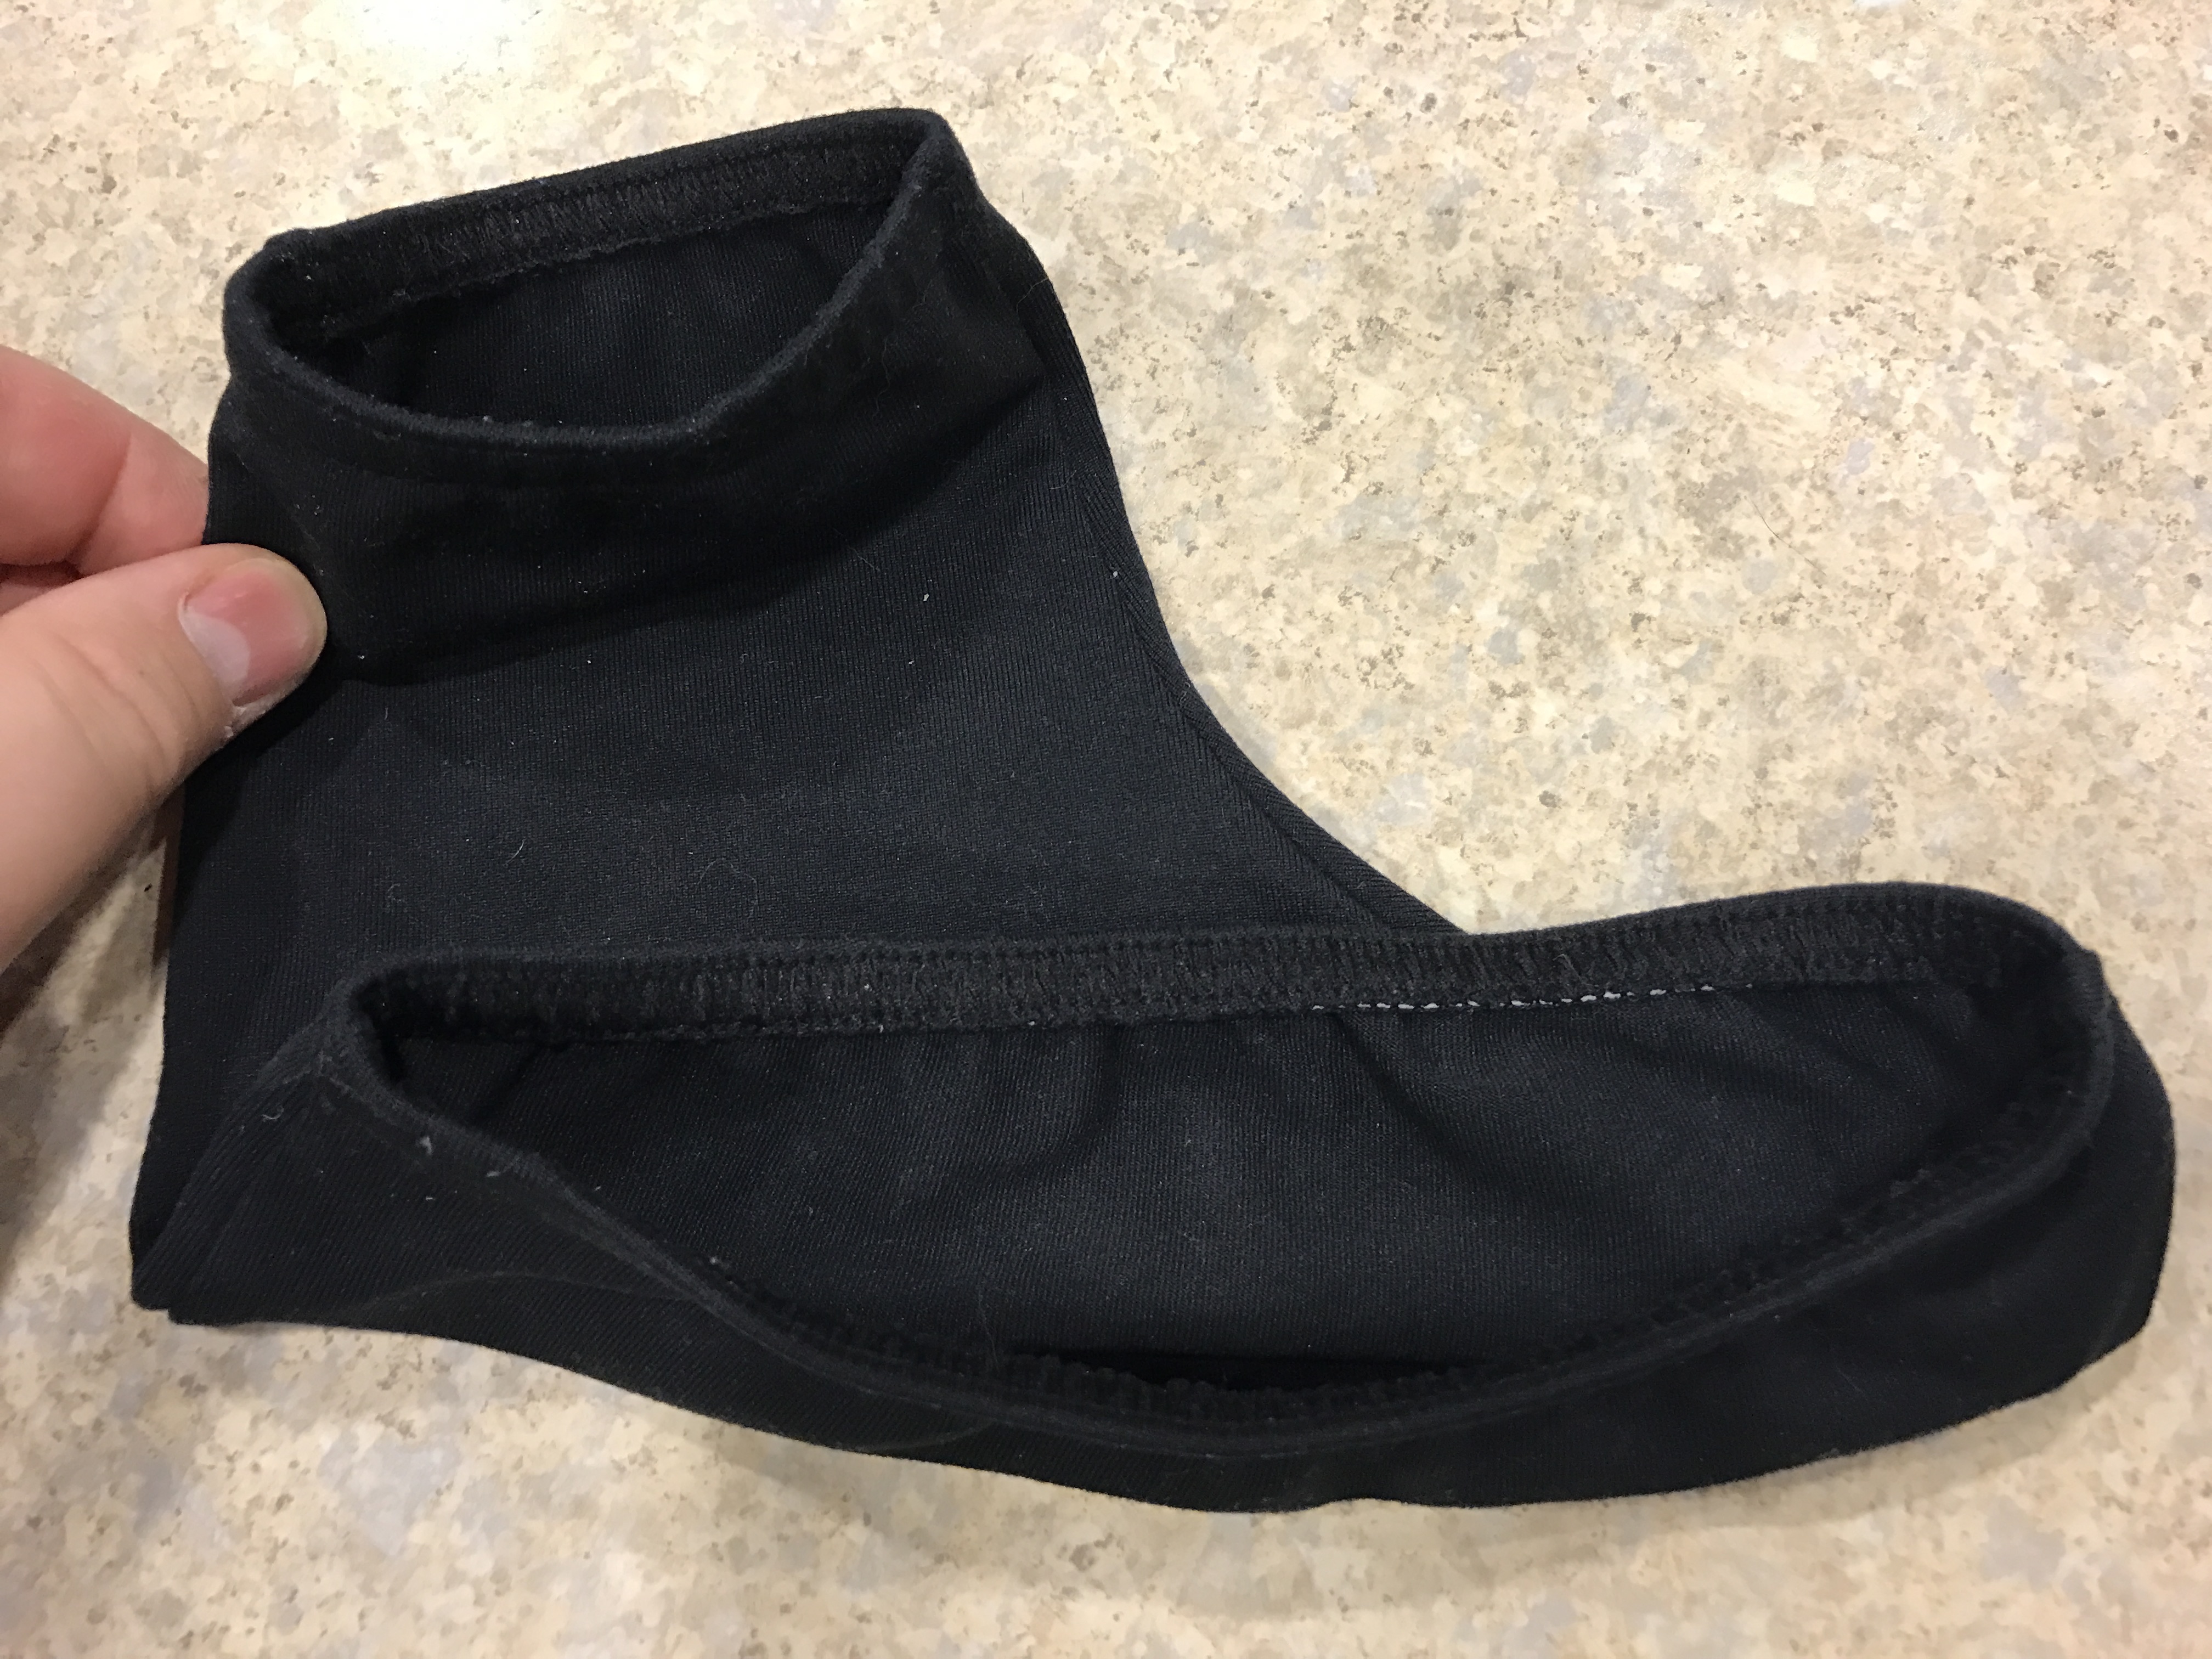
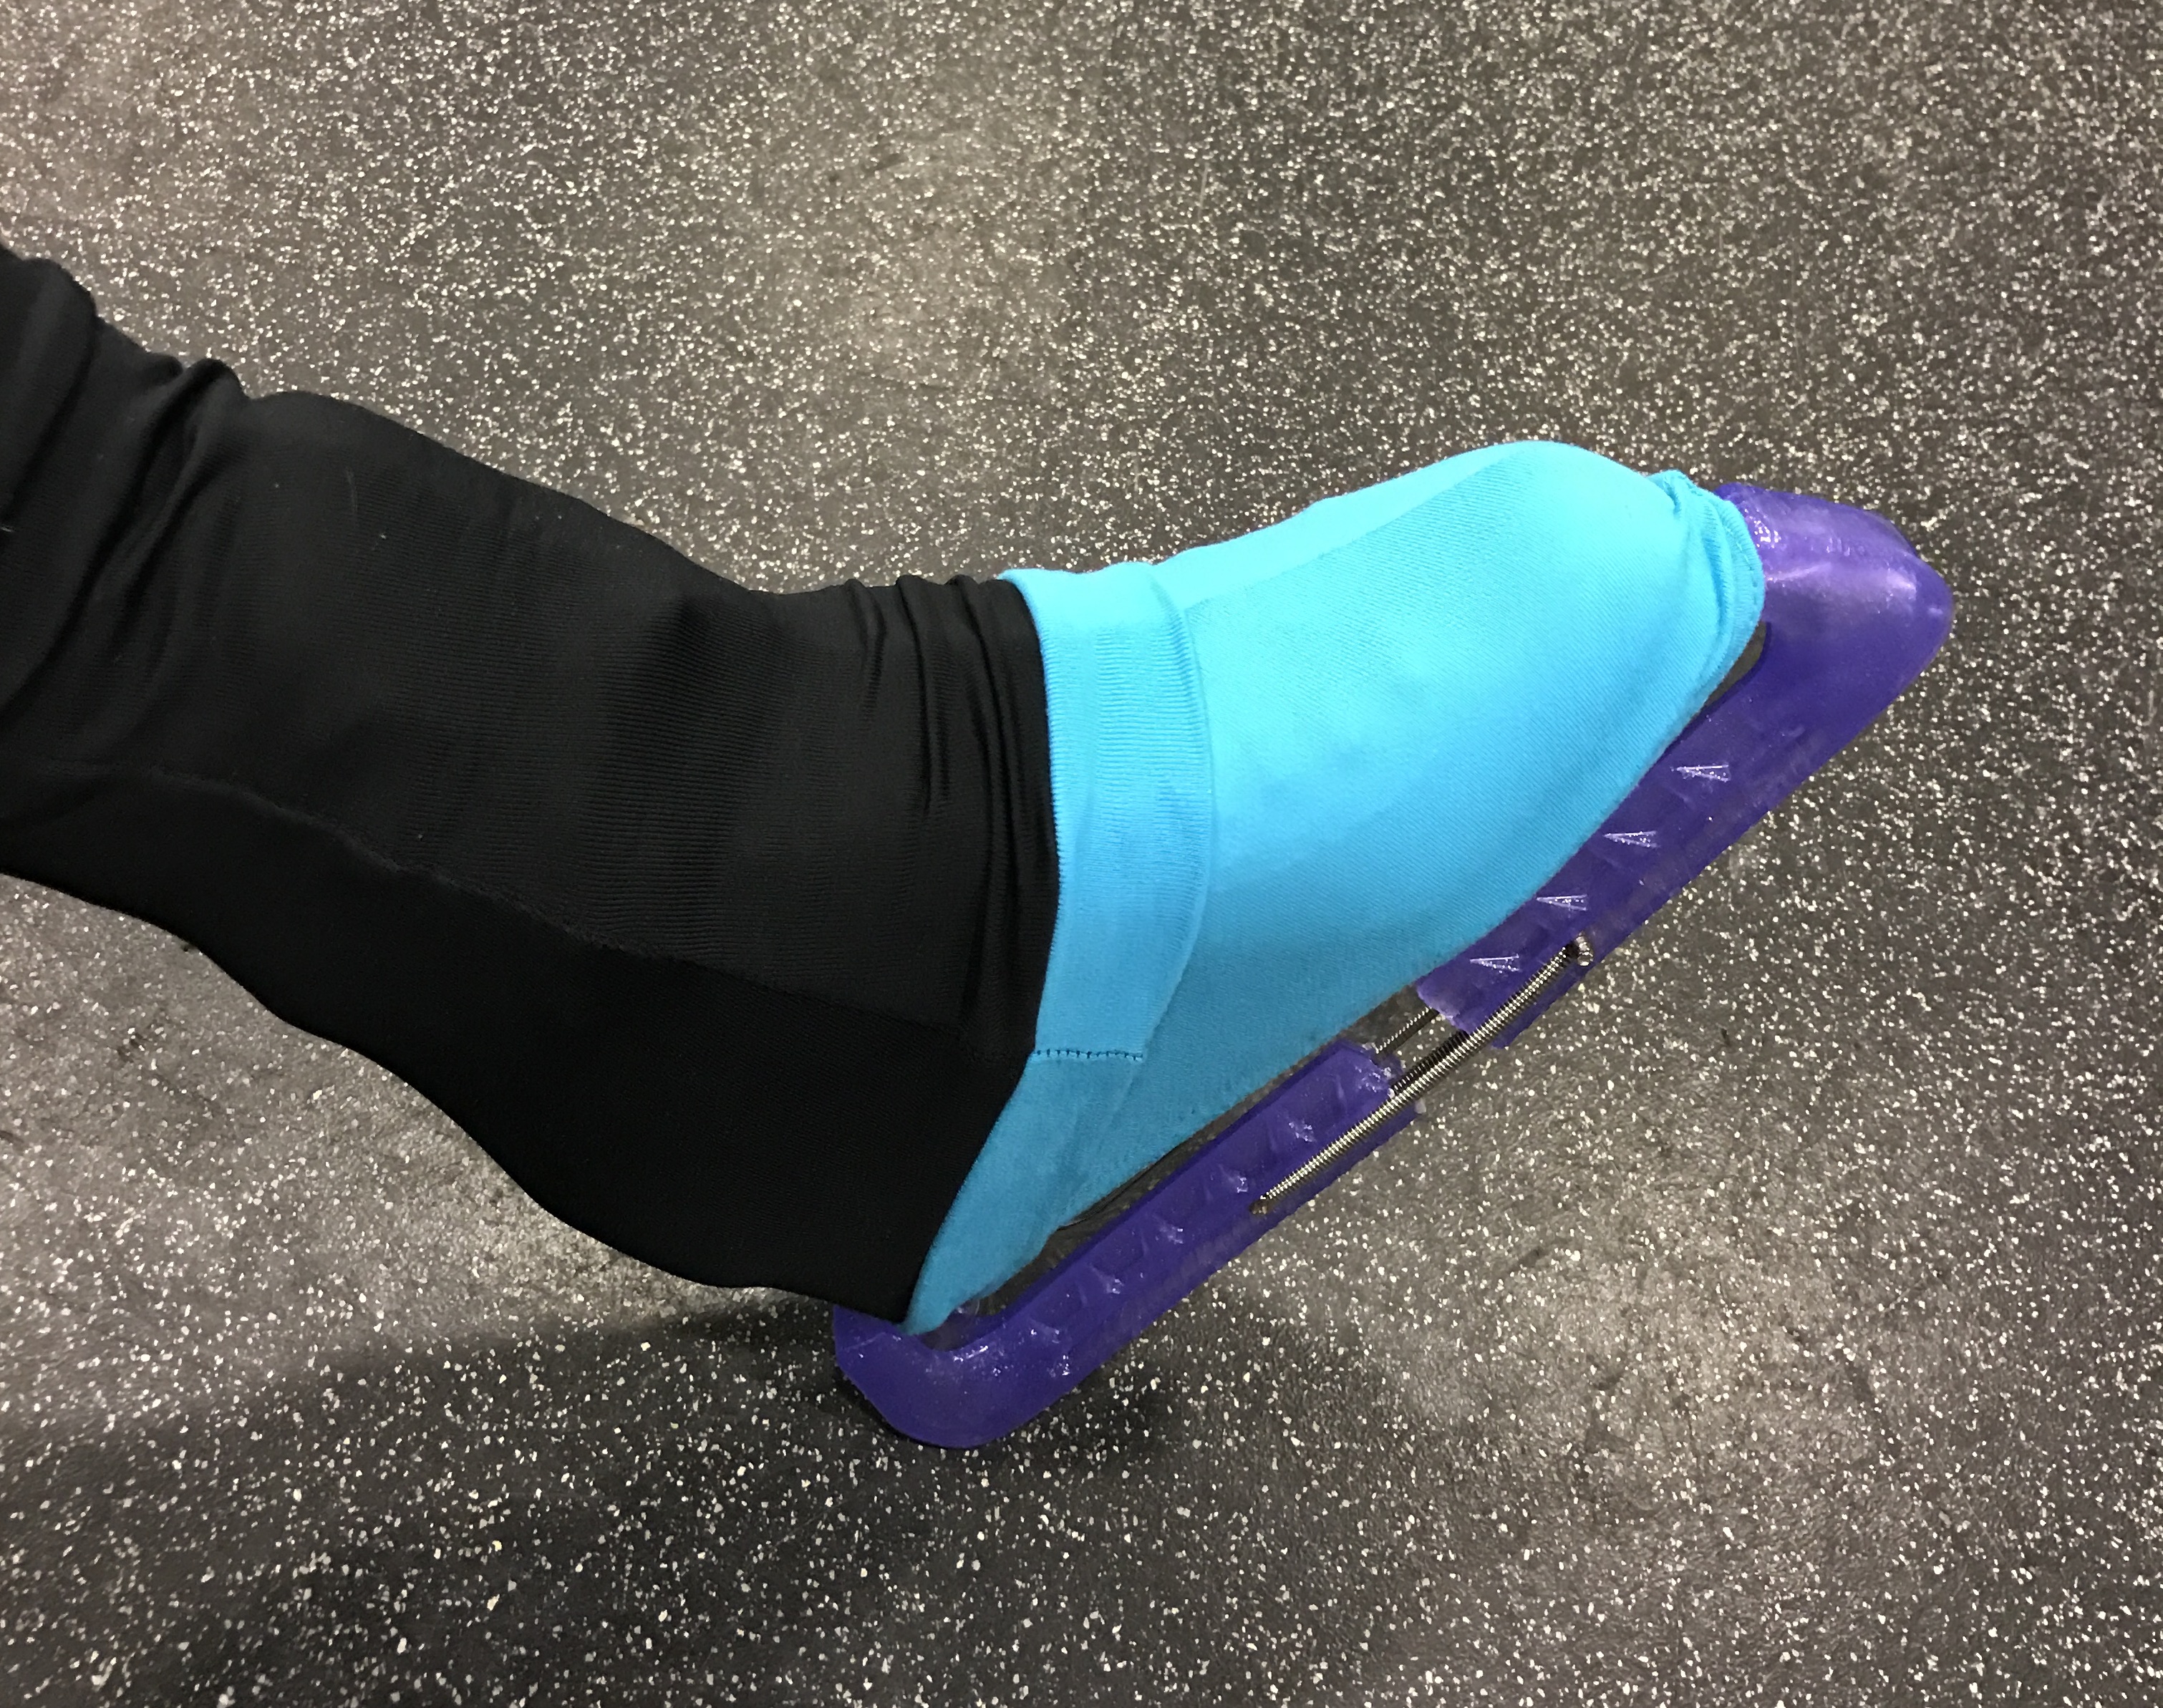
Boot covers are typically made of a stretchy lycra / spandex / polyester material and are designed to cover the entirety of the boot, from the top of the boot down to just under under the sole (wrapping underneath the foot just enough to hold the cover in place). They’re a pretty simple design, kind of like a soft bootee without a sole on it:

Boot Cover, Flat

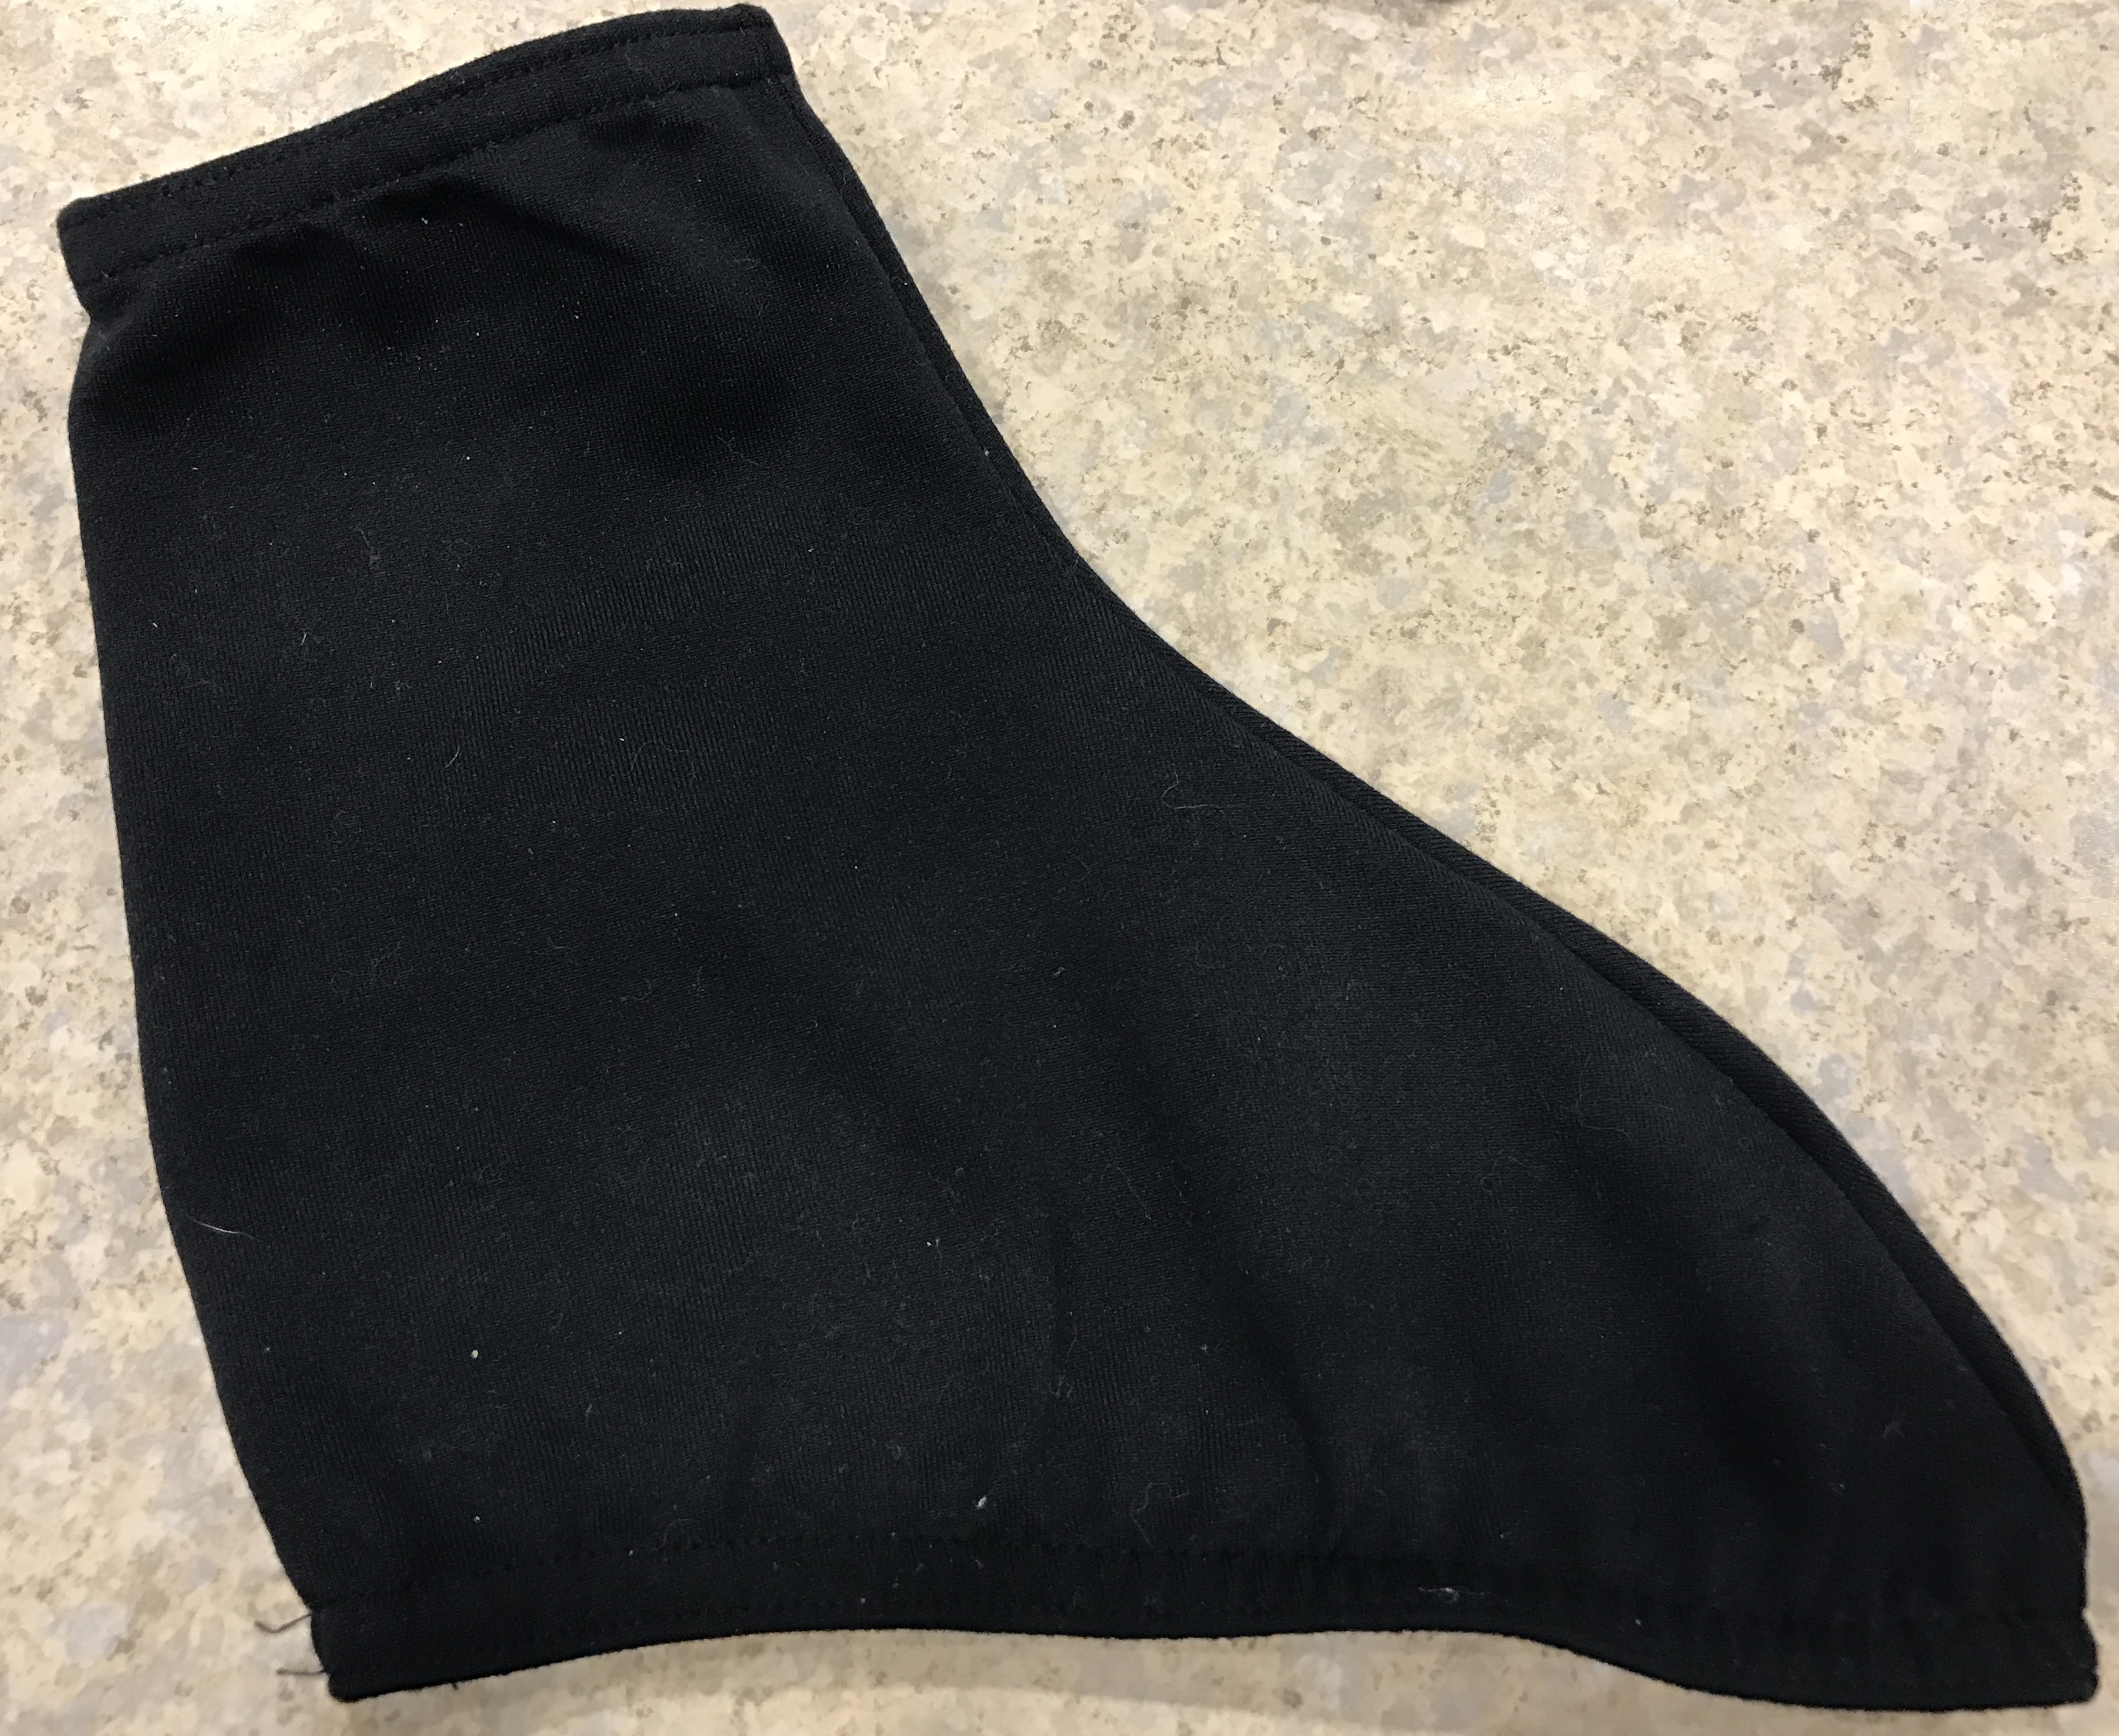
The top and bottom of the boot cover are elasticated so that the cover will hold in place properly:

Boot Cover (folded)

Why Boot Covers?

Some people wear boot covers because the wide range of colors and designs available can make the ice skates look prettier or more fashionable, and that’s a very valid reason. My youngest daughter, for example, loves wearing her turquoise boot covers with her turquoise spiral skate pants because by chance, the colors match so well it makes the pants and boots merge in a pretty seamless way:

Boot Covers

My son wears black boot covers because while most boys / men wear black skates, he has white skates (for reasons I’ll explain in another post); black boot covers normalize his skates’ appearance to the color people seem to expect.

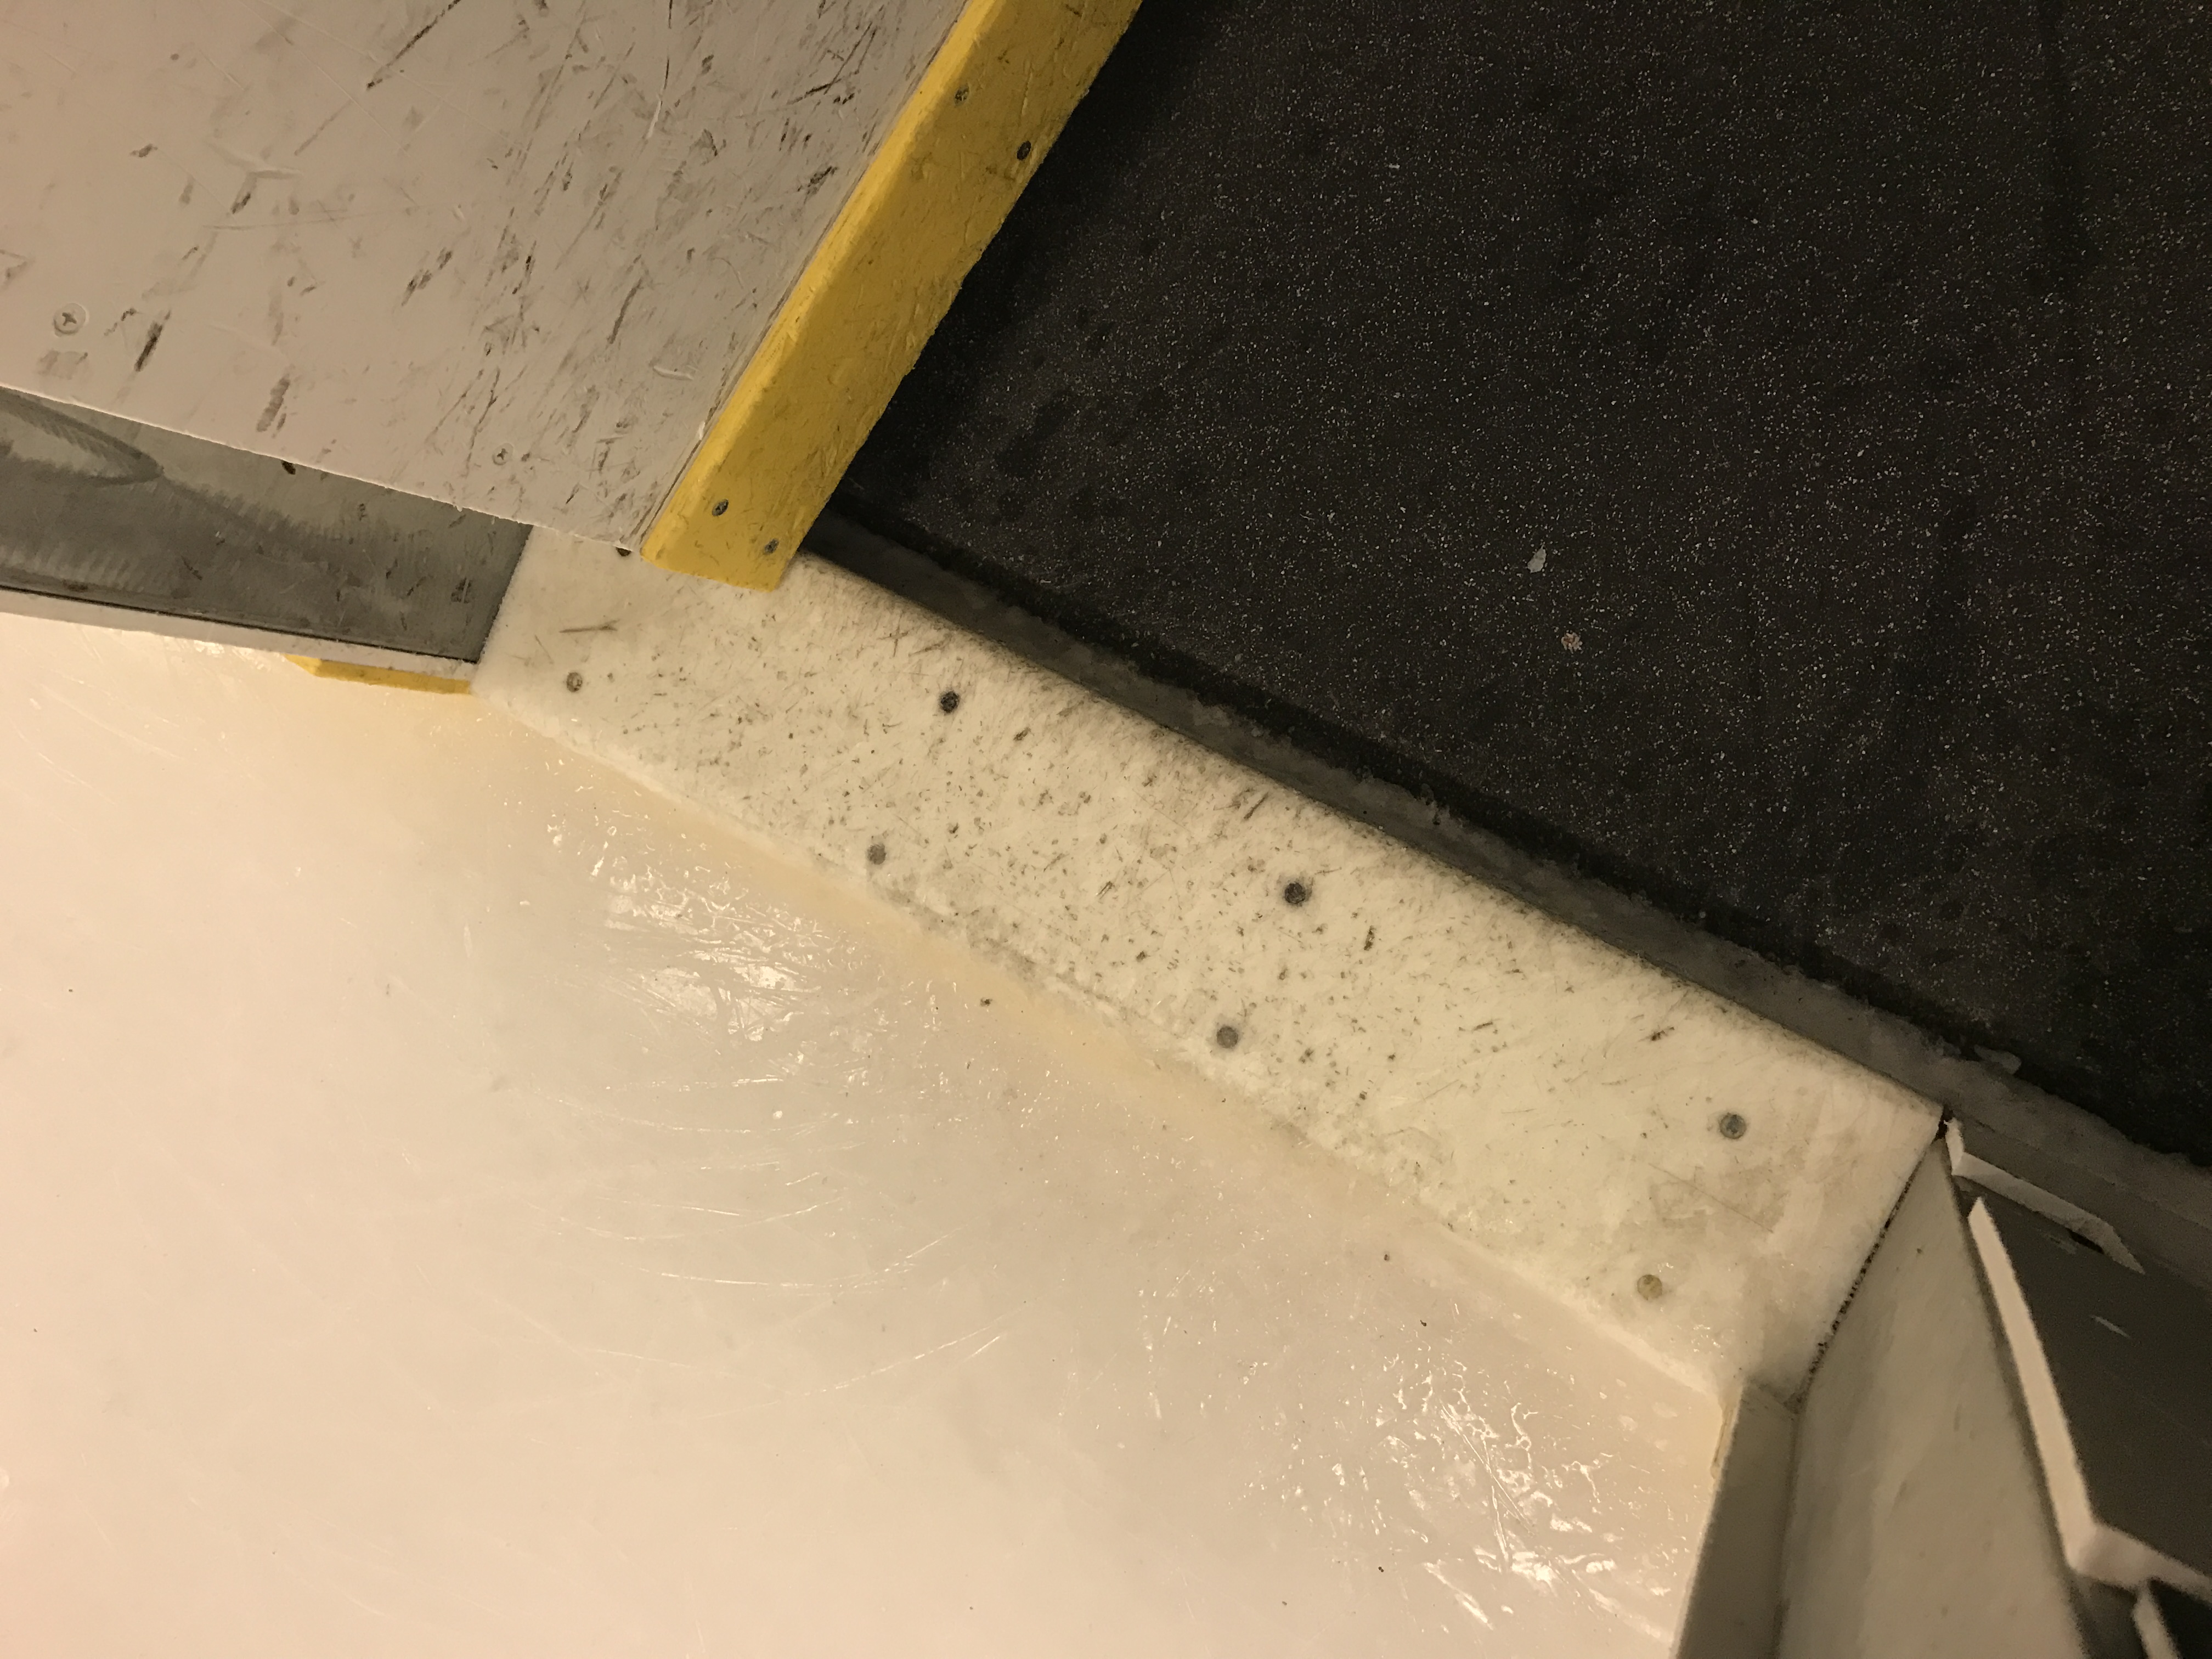
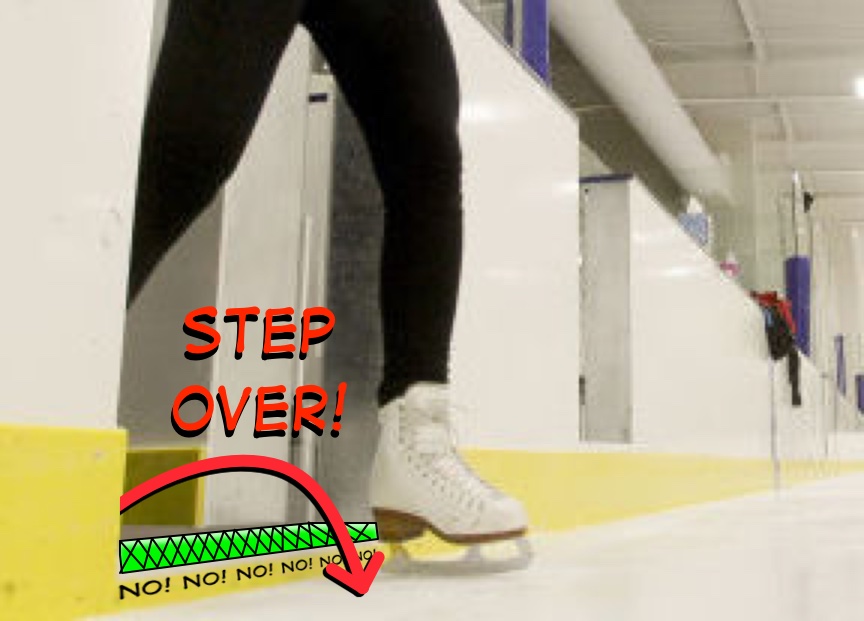
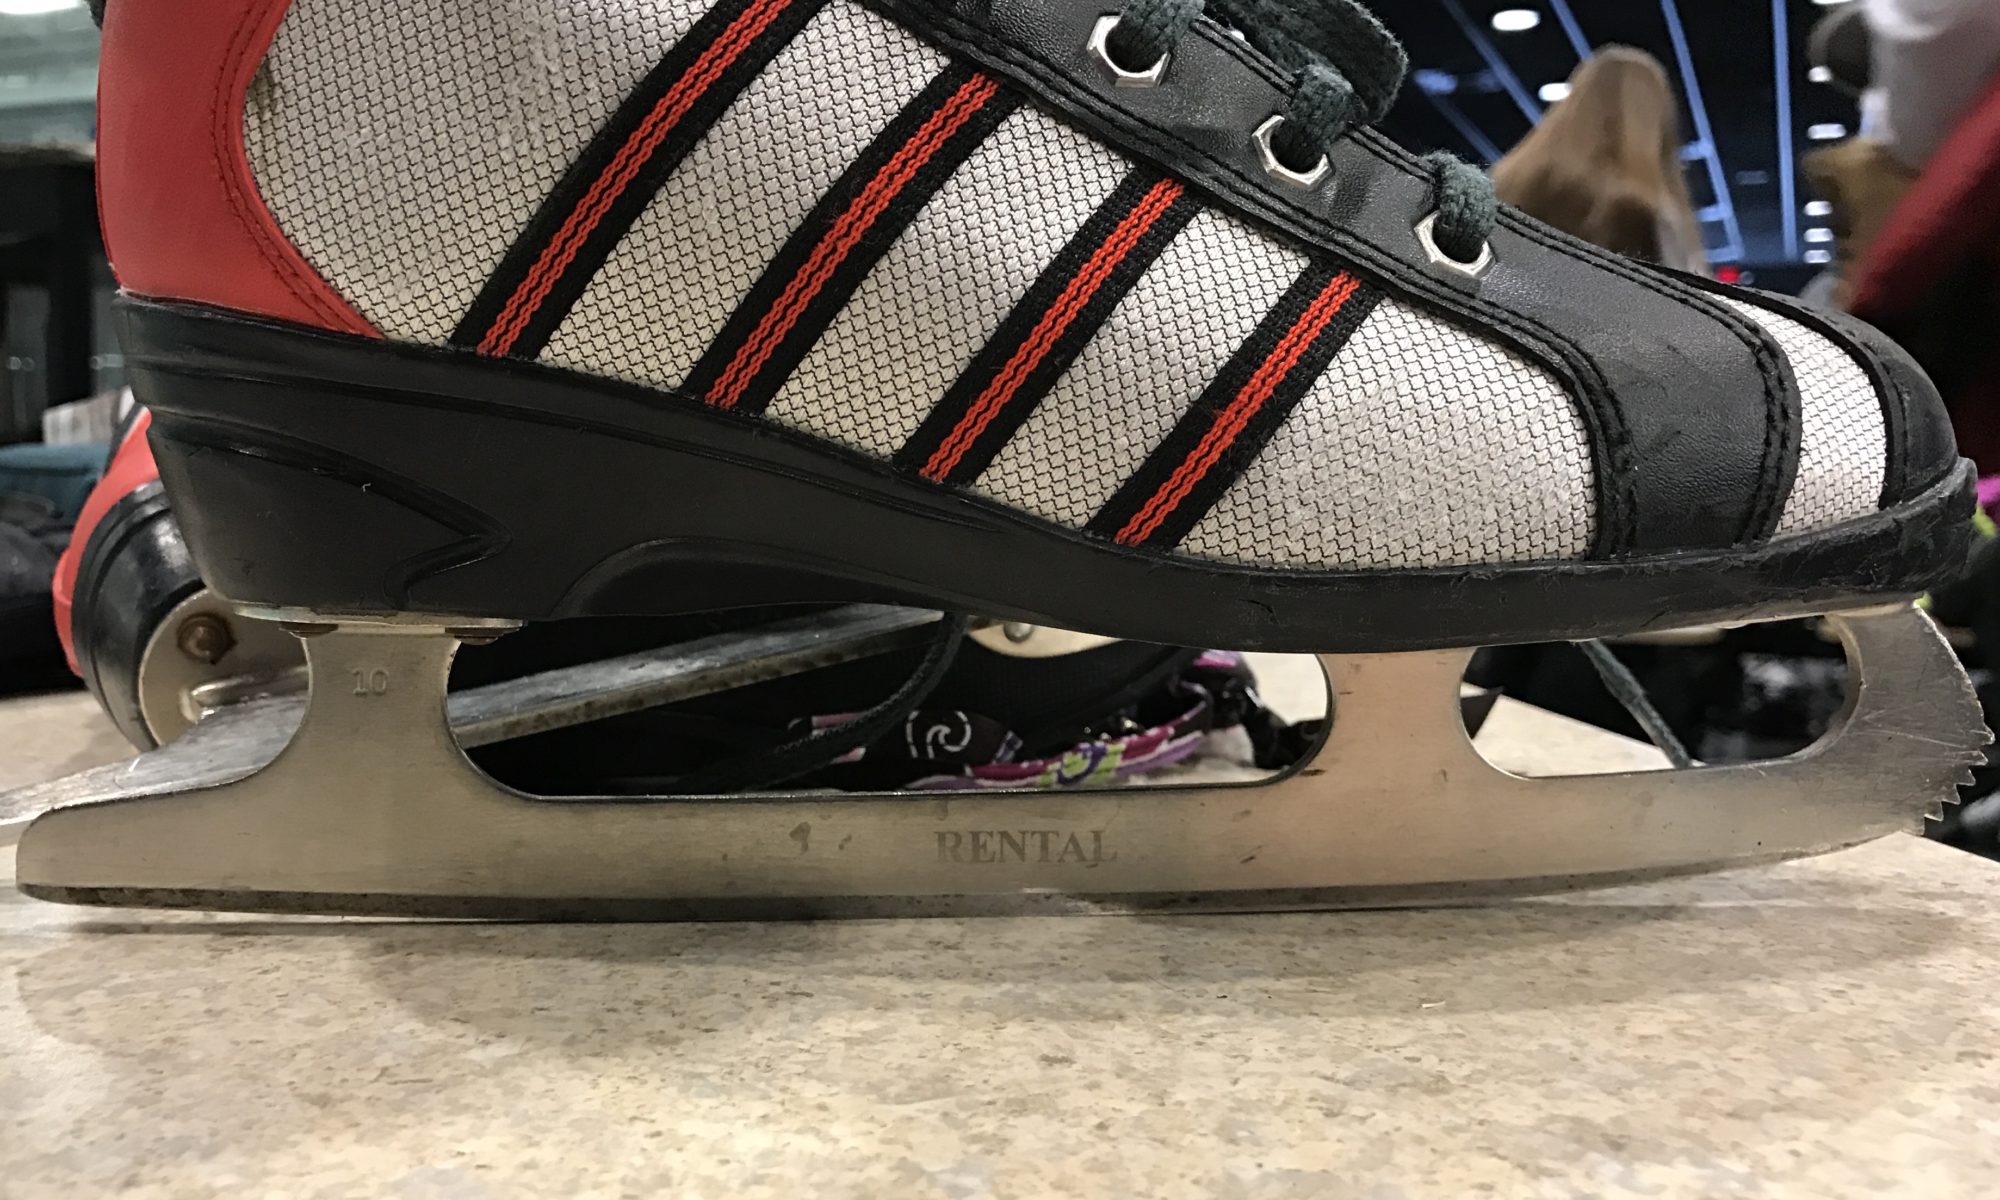
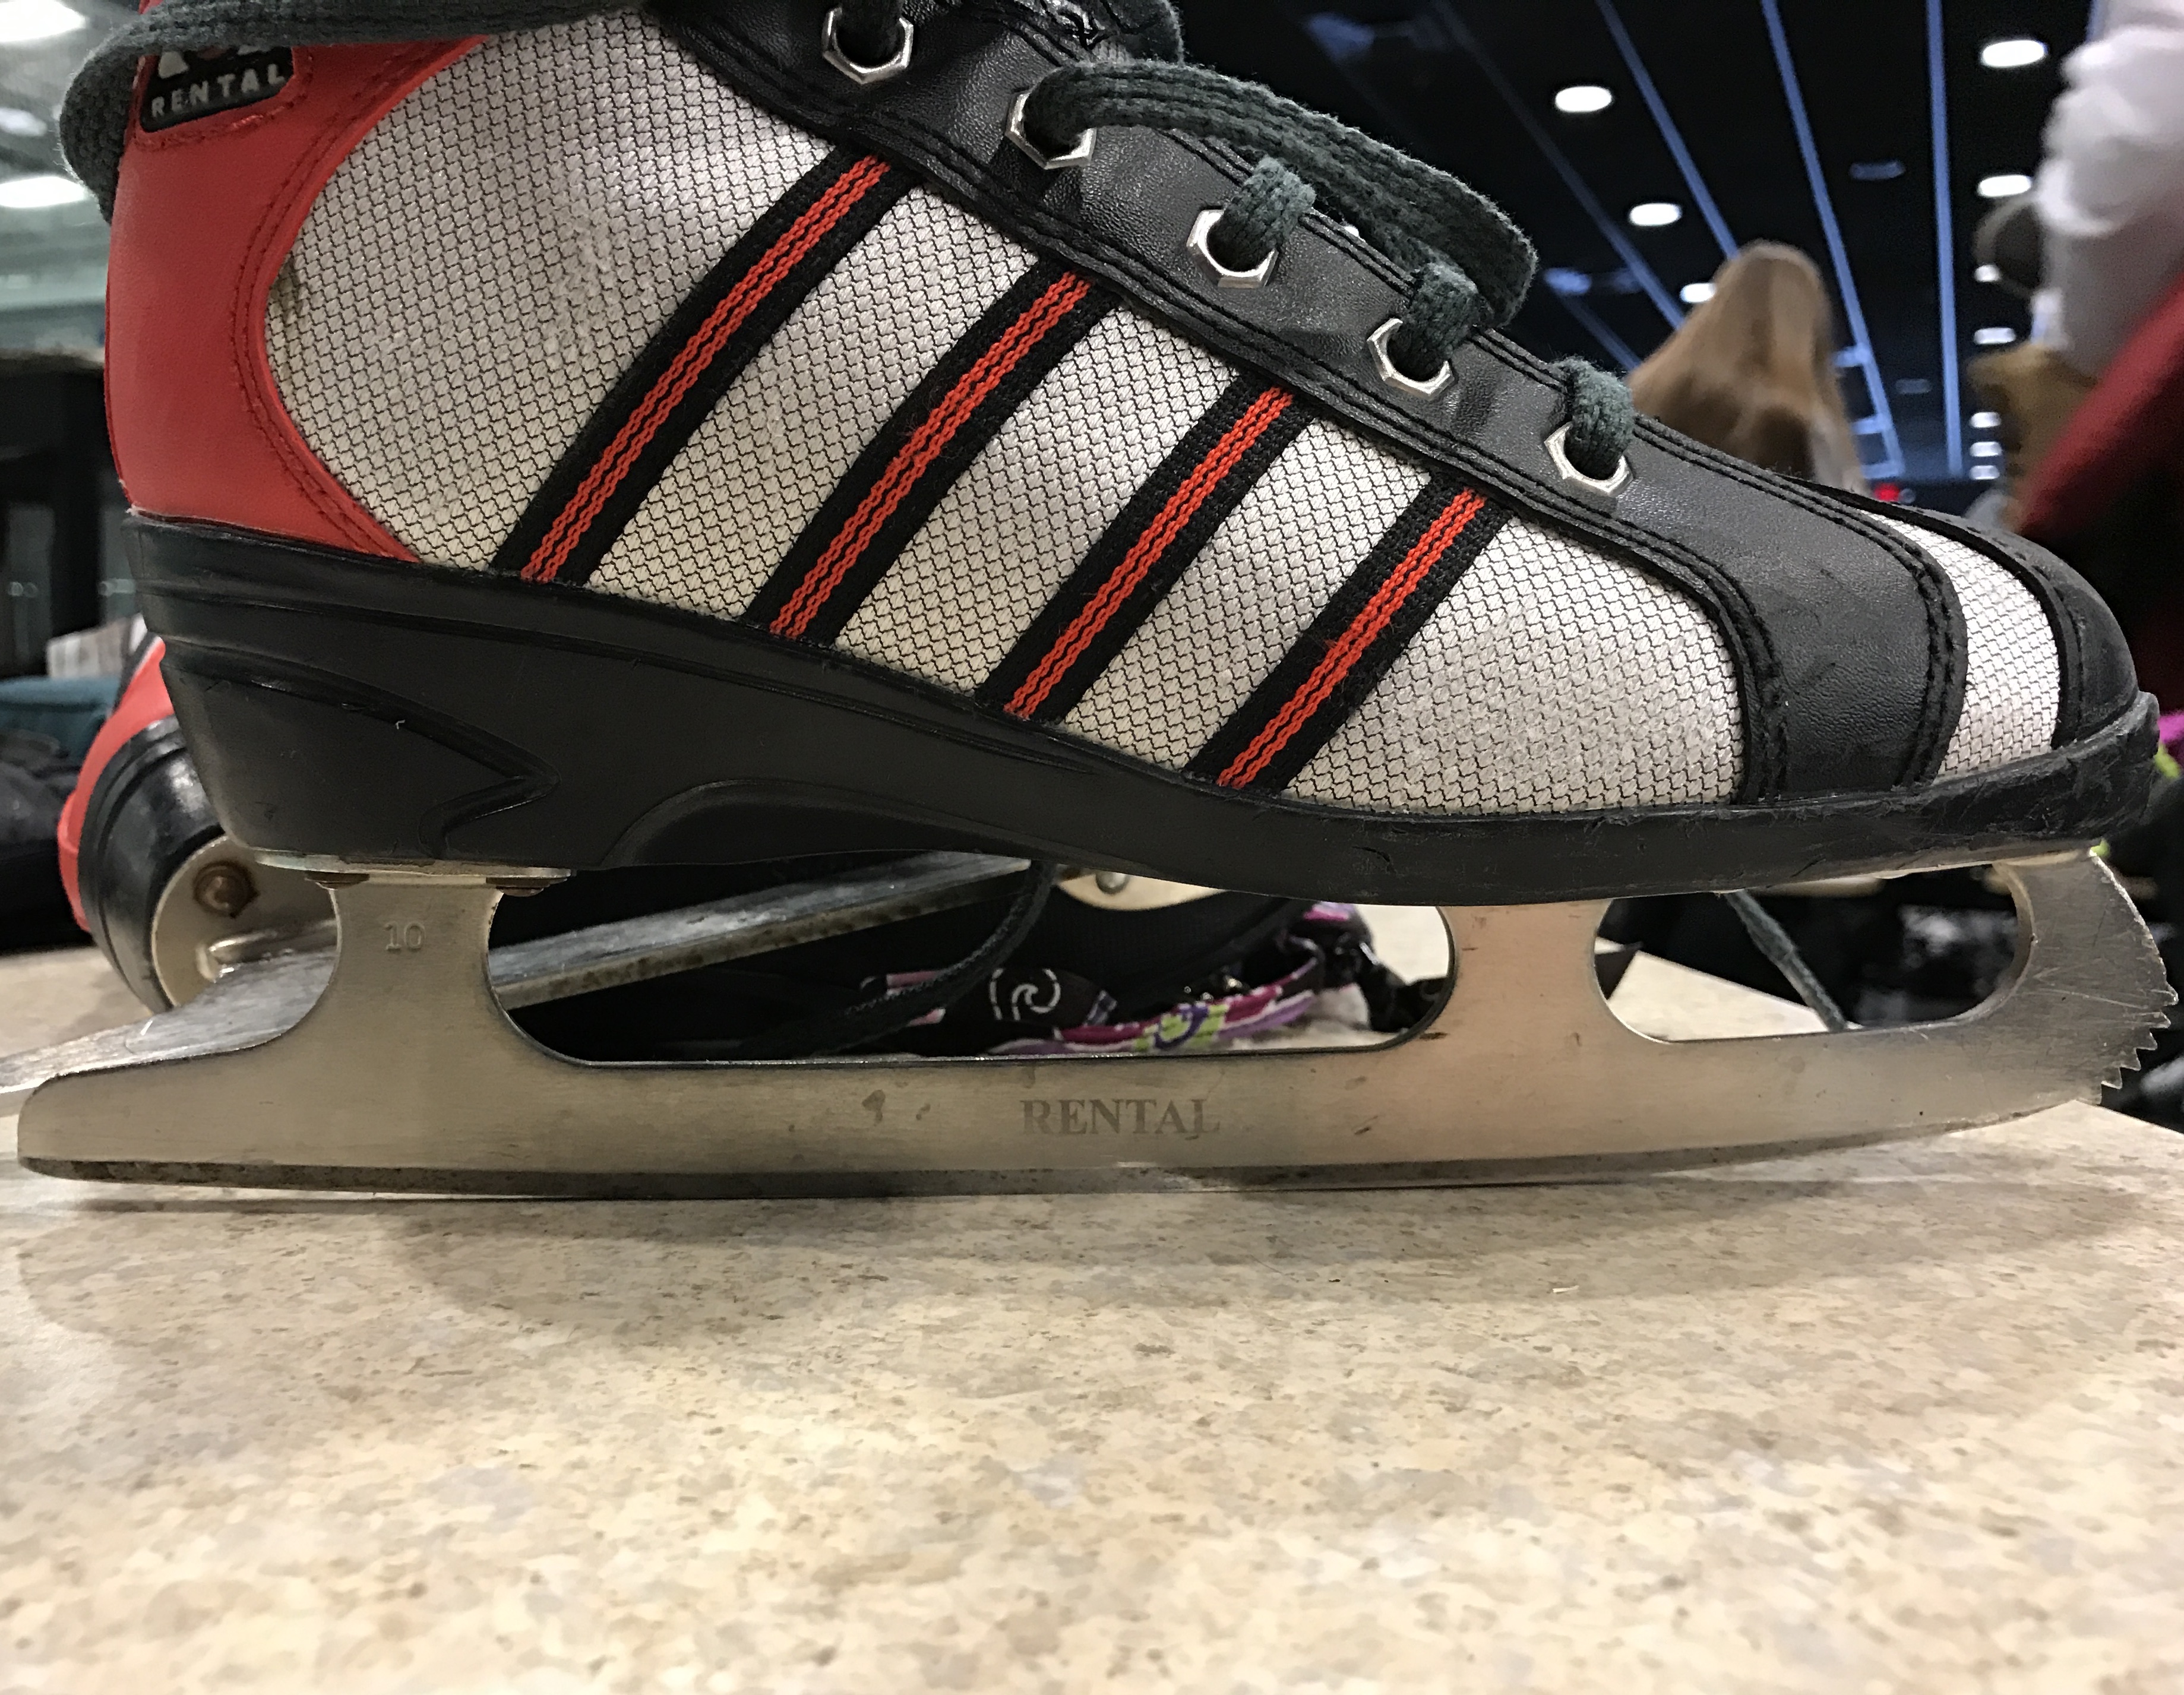
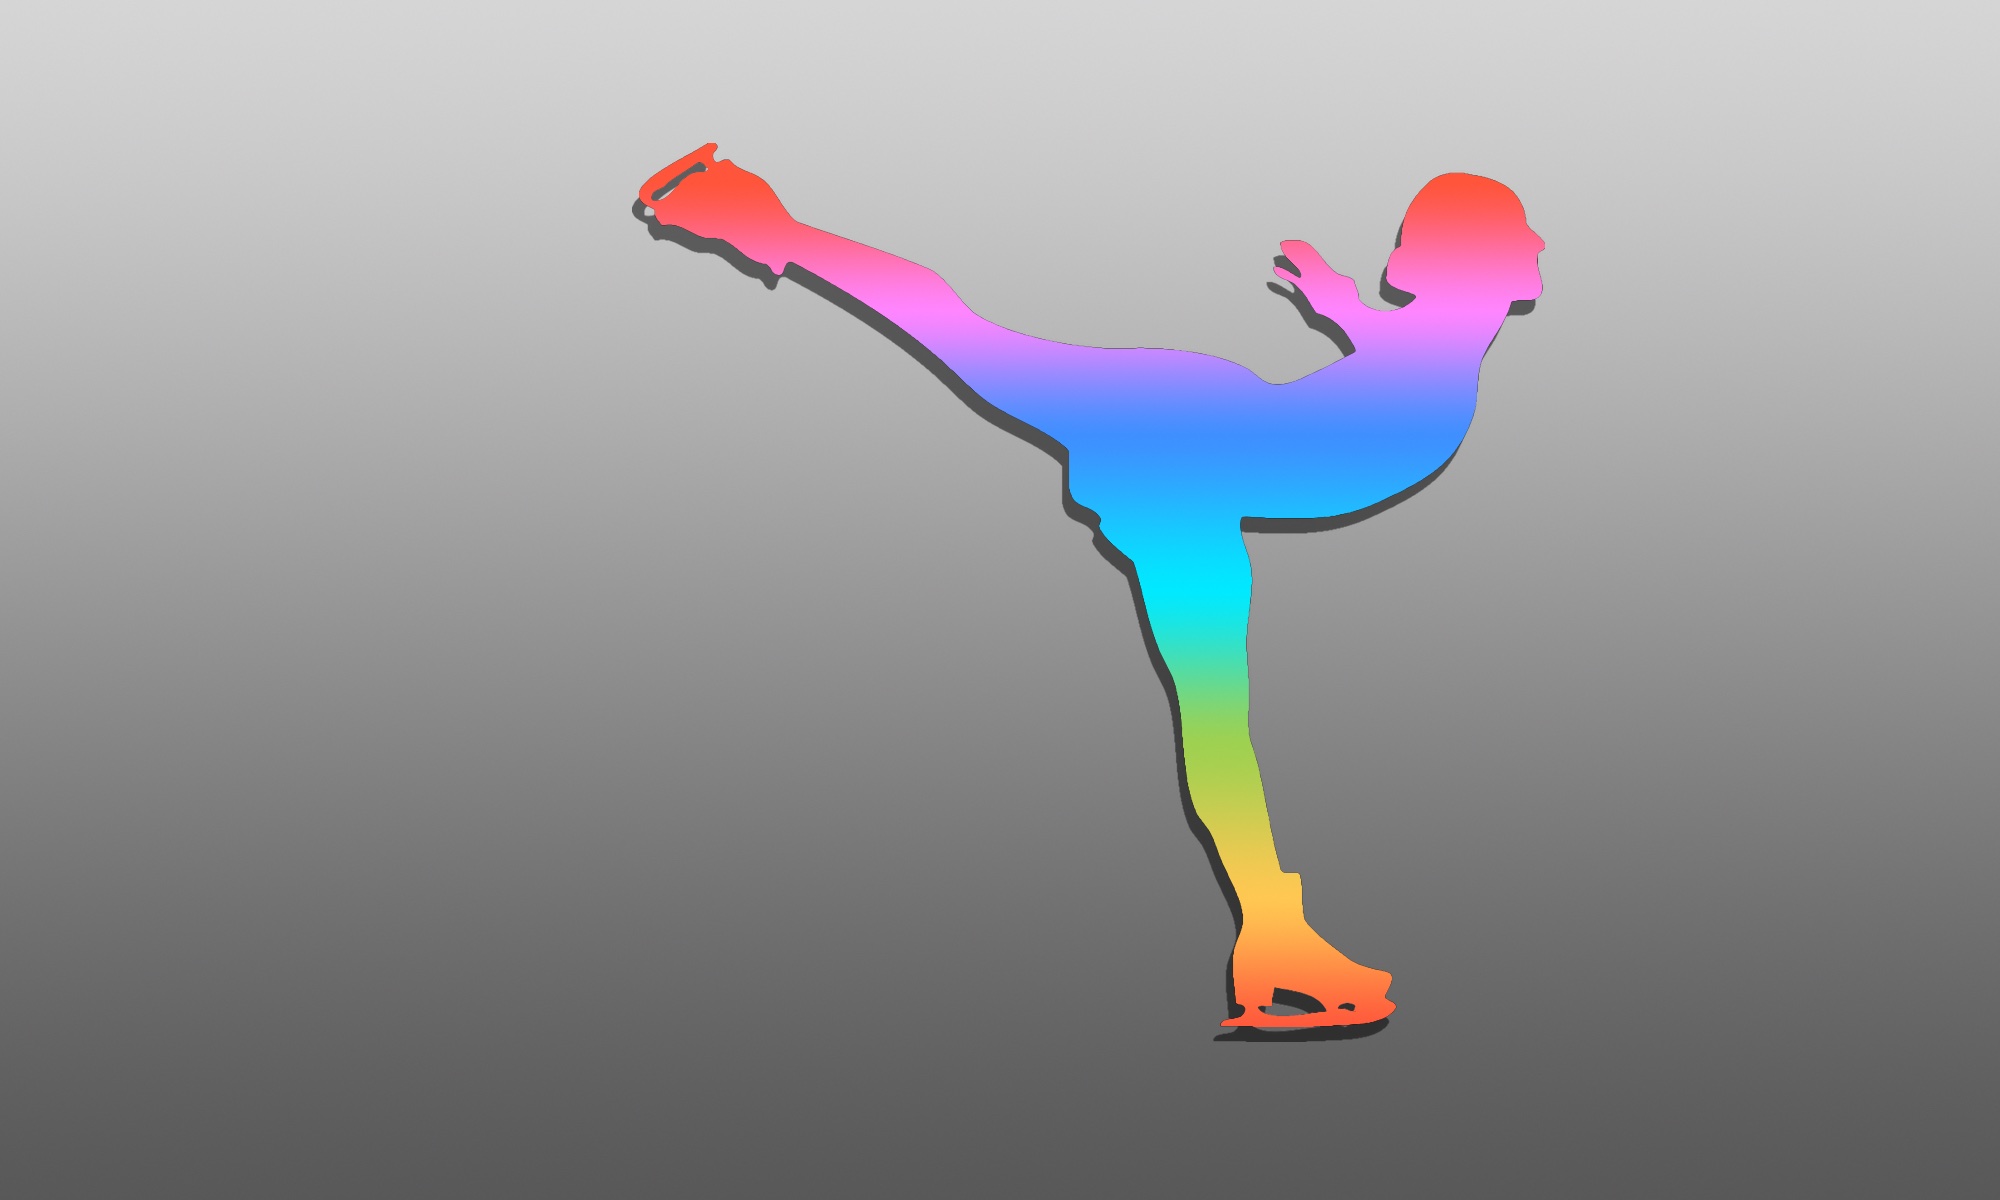
However, the very best reason I know for wearing boot covers is to protect your investment in your ice skates. The ice skate uppers are made of leather, which can get scratched and dinged like any other shoes. Ice can be rough when you scrape your boot along it doing a lunge, for example:

Lunge; photo by K. bird N. via Creative Commons Attribution-Share Alike 3.0 Unported License

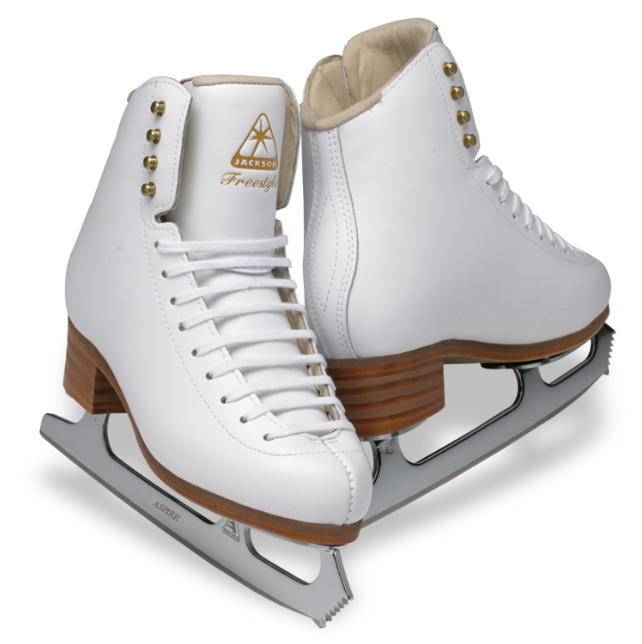
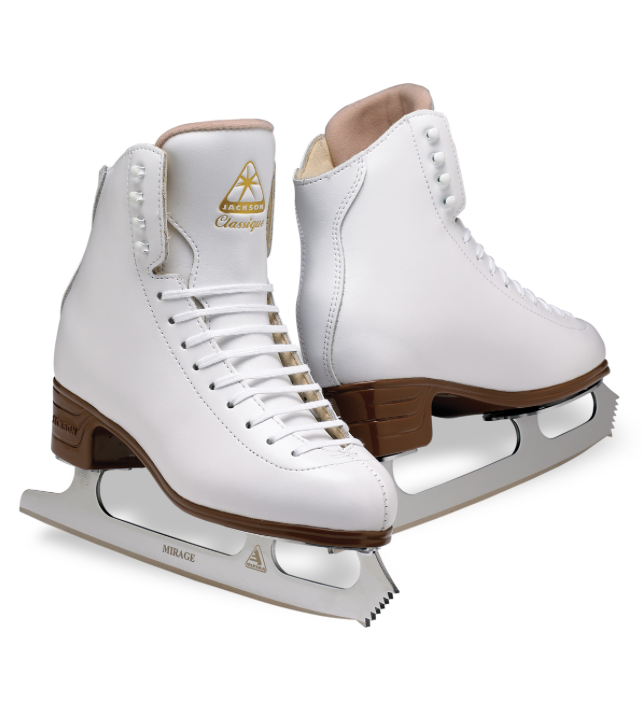
When practicing crossovers, it’s easy to nick one skate with the blade of the other. Scraping against the wall at the side of the ice can damage the leather as well. Rather than try to clean and repair the surface afterwards, it’s much easier to protect it beforehand and minimize the risk of damage. For purely protective purposes, it’s very common to use white boot covers over white boots; it’s not necessary to go with funky colors and patterns if you don’t want to!

Sizing And Cost

One size fits all, they say. I disagree, but apparently I’m in a minority because most covers are at best available in Child (to fit size 1-13) and Adult sizes. Adult, in this case, seems to mean Adult Women based on the fact that Adult in the popular Chloe Noel brand, for example, is Size 1-8. It’s not clear what a boy or man with feet larger than size 8 is supposed to do, because most brands seem to only offer those sizes. As a guide, my 12 year old son wears an adult size 8½ skate, and his “Adult” boot covers only just fit. I am not entirely sure what to do when his feet grow larger, but I’ll cross that bridge when I get to it.

Interestingly, when seeking larger boot covers I did find them for sale in the UK. It seems that the Spanish company Intermezzo manufactures boot covers in an XL size. Sadly I have not found a US distributor for them. Maybe I have just found a new business for myself! I plan to get hold of a pair of all three sizes that they make in the near future and I will report back on the sizing, and whether we can organize some availability in the US going forward.

If the sizing is a pain, in comparison the pricing is a joy. A pair of boot covers in the USA typically runs from ~$10 upwards, depending on brand, color, material or pattern. I’ve linked some examples below, and as ever these are not personal recommendations, just examples of the type of thing available.

For the $10 or so it costs to get a pair of boot covers, my belief is that they will pay for themselves over time, so for me they are highly recommended.

What If I Hate Boot Covers?

Not everybody likes boot covers; I get it. The only way to protect a boot is for it to be protected. Boot-covering tights may provide some protection if you wear those. Similarly I’ve seen some people use tape to protect the most vulnerable areas of the boot. I can’t speak to either of these directly, but the verbal advice I’ve had from the coaches I’ve spoken to has always been to use boot covers.

Stepping On To The Ice: Did You Know?

Stepping On To The Ice

That little sill that sits in the doorway to the ice looks innocent enough. In my local rink it’s a white plastic bar. Most people use it to step up from the rubber floor surrounding the rink, then they step on to the ice. Makes sense, right?

Stepping On To The Ice

STOP RIGHT THERE

Do not step on the white plastic sill.

Door Sill

I know it looks like it’s there to help you. I know it feels like stepping up and over the step might make you slip when your skate goes on the ice. Or likewise when stepping off the ice it feels like a long way down to the rubber flooring. I hear you and I feel for you. However, that sill is an evil temptation just begging you to do the wrong thing.

If you aren’t sure why I’m shouting that you need to avoid stepping on that little white sill, take a moment to read the page about blade guards. In particular, that article highlights two surfaces on which skates can or should be worn without guards:

  • the ice
  • rubber flooring

That innocent-looking white sill is neither ice nor rubber; it’s hard plastic and it can do damage to your skate blades just as much as walking on other bad surfaces. You might also see in the picture above that the sill is screwed into place; I promise you, you do not want to ever have one of those screw heads touching your skate blades!

I don’t understand why there isn’t simply a sign next to each of the doors on to the ice saying do not step on the sill. Instead this is one of those useful pieces of information which seems to be passed down as local knowledge instead.

Let’s look more closely at the earlier picture of the skater (an ice dancer in this case) stepping on to the ice:

She knows what she’s doing. So next time you step on to or off the ice, for the sake of your blades, please step over that plastic sill.

Soakers: Why Are They Necessary?

Soakers / Blade Covers

Once I purchased skates for my children, I entered into the fun fun world of accessorizing. Some of the accessories are purely for appearance, but some—like soakers—are absolutely essential for everybody owning a pair of skates.

Soakers / Blade Covers

Soakers

A soaker (also known as a blade cover) does exactly what it says on the tin; its soaks. Specifically, its job is to soak up moisture from the blade once the skate has been taken off, so that it doesn’t hang around and cause rusting (which shortens the blade’s life). You can see a red soaker on the blade of the skate in the picture above. They’re simple and thankfully they’re also very cheap.

How To Use Soakers

When your child finishes skating, they should wipe the blade and the boots (the soles in particular) down with a cloth or towel in order to remove as much moisture as possible. There’s more to this than might at first meet the eye, because the blade has just spent time pressed into ice, so it’s really quite cold by the time the boot comes off. Cold metal is like a magnet for moisture in the air, and consequently even if you dry the blades diligently, more moisture will inevitably accumulate on the cold metal surface of the blade, and if not removed will likely cause rusting.

Once the blade (including the mounting hardware, not just the sharp part) is as dry as possible, put on a soaker. That way if any moisture condenses on to the blade, the soaker will wick it away and let the blade stay dry. This is, therefore, how ice skates should be stored for transport after skating. Should soakers be removed? Well, some people say to leave them on until the next time the skates are used, and others say that once the skate has been inside for a while (i.e. has normalized the blade temperature with the interior), the soakers should be removed so that they themselves can dry. I suspect both are ok so long as the skates aren’t being left inside a moisture-holding sealed bag all the time. The skates need to be dry both inside and out, and if they are left with a damp soaker in a reasonably well-sealed bag, just as a used Gym/P.E. kit will start to mold (UK: mould) and go rank pretty quickly, you can bet that something similar will happen to your beautiful skates. See the page on bags for some examples of skate bags which can help in that regard.

It is of note that in order to minimize condensation on the blades, skates should be stored somewhere relative dry between uses; they shouldn’t be left in a garage or in the trunk (UK: boot) of a car.

How Much Are They?

Cheap, cheap, cheap (from about $6 upwards)! Or expensive. It just depends on your tastes. Here are some examples (click for links to Amazon):

For adults the soakers tend to be one size fits all, but some companies also offer a kids size for smaller skates. It doesn’t matter whether you go for plain soakers or if you splash out on some crazy character blade covers; the point is, if you have skates and don’t have soakers, you need to buy some right now.

Renting Skates versus Buying Skates

Rental Skate

Once of the questions I struggled with when my children started ice skating was when was right to consider buying skates. If you’re new to ice skating, you’re likely wondering the same thing too, so here are my thoughts on the matter.

Renting Skates

Renting Skates

The summary is that rental skates suck. That’s not to say that you can’t have terrific fun wearing them, but they’re designed for casual skating only. They are shaped fit as many different foot shapes as possible, to accommodate the thick, warm socks that casual skaters might choose to wear to the ice rink, and to last a long time. They’re generally what are described as ‘soft skates’, which means they don’t have an awful lot of support (and are thus not safely usable for any kind of jumps and spins). I also don’t see the skate blades being dried off when rentals are returned, and the results are inevitable:

Rusty Blade

In this case, the state of the blades is less than stellar as well:

Dulled Edges

None of these attributes make rentals skates great for serious skating. However, when you or your child are starting out with skating, they are perfectly adequate. After all, who wants to drop money on brand new ice skates when there’s a chance that the child may not enjoy ice skating after all and will change their mind?

My policy was that when my children started following the Learn To Skate USA Basic 1-6 courses, I would not buy them skates at first. They started somewhere around February this year, and I spoke to their coaches to as them to advise me as to when they thought it would be helpful for my children to have their own skates. I also reckoned that this would give me maybe 3-6 months to find out whether they were engaged and enthusiastic before I made an investment. The kids did well using rental skates, and they were in good company; most of the other children in the lower Basic levels were also skating in rentals.

Buying Your Own Skates

Around the time where my oldest skater at the time (12 years old) got to somewhere around Basic 4, their teacher approached me as promised and said that this would be a good time (if possible) to consider getting them skates. Being reasonably well built and getting heavier and taller by the day, it was particularly important to find skates that would have reasonably firm ankle support.

The subject of which skates to buy is such a huge one that I wouldn’t even dare to start advising to go for one brand over another because it’s a very personal choice both in terms of budget, features and options. I will comment that most of the skaters I see at this level end up with Jackson or Riedell skates, but that may be a regional thing as much as anything else.

For the purposes of transparency, I am happy to share that I ended up selecting Jackson Ultima Freestyle/Aspire figure skates for my son.

Jackson Freestyle

While I was emptying out my wallet for one child it seemed rude not to finish the job and also get younger sister (aged 9) her own skates as well, as she was in Basic 3 and learning quickly. She ended up with the slightly cheaper Jackson Ultimate Classique figure skates which are in many ways similar to the Freestyle.

Jackson Classique

There is nothing quite like seeing the pride with which my children look after their skates. They are keen to restore the beautiful high-shine finish on the blades after they finish skating, which is just great. More importantly, after a lesson of tripping (during which they discovered what it is like to have skates whose blades actually cut into the ice!), they found their ice feet again, so to speak, and started improving rapidly from there. The teachers immediately commented on the difference in their performance with the new skates, which was also reassuring.

To summarize, if the skaters are serious and plan to keep taking lessons, budget for their own skates sooner rather than later.

How Much Should I Spend?

This is the impossible question. The common wisdom appears to be as much as you are comfortable spending. With ice skates, you really do get what you pay for to a large extent. Cheaper (e.g. sub-$100) skates of the kind often found in large sporting goods retailers and department stores are usually considered to be a false economy; the skate will be functional for sure, but often lacks support and does not have a blade capable of handling the jumps and spins that will be asked of it down the line. No problem to use these for recreational skating, but I hear over and over again that they won’t cut it for a developing skater.

Are Used Skates Ok?

In theory, yes of course! Like buying a used car, it’s just a question of knowing what you’re buying, what to look out for, how much sharpening life is left in the blades, and whether the price is fair. It’s also worth considering though that when skates are purchased new, over time they stretch and shape themselves to the owner’s feet. When buying second hand, the skates are already shaped to somebody else’s feet; whether that’s a problem may depend how different your feet are to that person, and how much stretching took place. It might not matter, but it’s something to consider. Overall, I am not in a position to advise on these matters, so I would always use somebody who does know about buying used skates as your ally. Coaches at your local ice rink will likely know of people selling skates (perhaps their own students) and can often advise on what will work.

Why Buy?

Have you even been ten-pin bowling before? The house balls are generally pretty chipped, the finger holes never quite fit the fingers properly and are a bit more slippery than is helpful, and the weight is always too heavy or too light. Basically, they’re effective at hitting the pins and it’s possible to do well with them if you can work with their compromises, yet league bowlers typically do not use the house balls; they buy their own. Why? Because then they can get a ball with a more reactive surface; the finger holes are custom drilled to fit the hand size perfectly; finger inserts can be added to add more grip and improve comfort to the holes; the weight can be much more closely aligned with your needs.

It’s the same with ice skates. You can use the rental skates for a while without major issues, but eventually you’ll get to the point where they are holding back your progress on the ice. Eventually, you will have to buy skates or your child will be repeatedly frustrated with their inability to perform the moves requested of them by their coaches.

To coin a phrase, buying your child their own skates will—quite literally—give them the edge they need to keep getting better.

Blade Guards

What Are Blade Guards?

Blade Guards

Blade guards are plastic/rubber covers designed to protect the blades while off the ice. Ice skate blades may be made of steel, but the blades’ fine edges are susceptible to chipping and denting if used to walk around on hard or dirty (especially gritty) surfaces. Chips in the blade edges mean less control on the ice, and may require aggressive sharpening of the blades to remove them. The additional metal removed (more than in a regular sharpening) in turn reduces the lifespan of the blades, because let’s face it, there’s only so much metal you can remove before the toe picks are touching the ice.

How Much Are Blade Guards?

Blade guards are cheap enough that nobody should have ice skates without them. In the US, Amazon prices range from around $6 up to $15.

When Should I Use Blade Guards?

The general advice is that there are only two surfaces on which skates can or should be worn without guards:

  • the ice
  • rubber flooring

Therefore, blade guards should be worn when walking around in ice skates on any other surface except ice and rubber flooring.

The good news is that most ice rinks use rubber flooring in most key areas, so typically within the rink area you’ll be walking on rubber. The bad news is that even on the rubber surfaces, especially in the busier public areas, dirt accumulates. Grit and dirt from outside is carried in on shoes, and stepping on that—even on top of rubber—can dull or chip the blades.

The best advice therefore is that blade guards should be worn from when the skates are put on, right up to the edge of the ice. As a more general rule, the less you walk in skates off the ice, the better.

Are There Different Sizes?

Yes, because blades are different lengths, but the guards I’ve seen are one size fits all and either have an adjustable locking mechanism, or can be cut to size to fit the blade. There are two main types I typically see:

Latch Type

This type of guard is probably fastest to set up, and probably even fastest to put on and take off, although they are not my own preferred guard. Usage is simple: put the front of the blade in the front end, then clip the latch over the back of the blade. The latch can be easily and quickly moved as needed for the length of blade. Note that there are both figure skate and hockey skate variants of these guards, so make sure you are buying the right kind!

Spring Type

For the skater wishing to express their own style, the spring-type blade guards come in a wide variety of colors and styles including solid colors, translucent with glitter and even colors that change with temperature. Each guard is made up of two pieces, with two springs holding them together in the middle. Fitting these to a blade requires a little bit more effort than the latch type. The blade size is checked, it is matched up with an (included) chart, then each of the four pieces comprising the pair of guards is cut to the appropriate length. Then the springs are screwed in to place. There aren’t any instructions on how to do this, so I will demonstrate this below. It’s of note that while all the pictures show the blade guards meeting perfectly in the middle, this is really not how they end up looking in most cases, because of the variable gaps depending on blade length.

To use the guards, put the toe pick in one end of the guard, then pull back on the rear end of the guard to stretch the spring so that it will go over the back of the blade. The springs hold the guard tightly in place. Initially these guards can be a little tight on the blade, but they loosen up fairly quickly.

Fitting The Springs

Once the two halves of each blade guard have been cut to length, butt the two cut ends together and hold up the springs next to them to find the most appropriate holes through which to mount the springs. Depending on where the guards were cut, it may be necessary either to put a gap in between the two halves, or (if you are feeling brave) to very slightly stretch the spring in order to reach the nearest hole:

In this case, the holes are very slightly close together than the length of the spring, so the two halves are separated a little in order to align the rings on the end of the springs with the holes.

The springs, confusingly, come with only one screw each. This is because each screw will assist in securing two springs, as shown below. One screw should be used on each side; when it gets through to the other side, position the ring from the other spring and keep screwing it in so that it locks into that other ring. Looking from above, the screws go in like this:

Here’s how it looks from the side, with a real blade guard. Note that you see a screw head on the left, but on the right you see the end of the screw coming through from the other side, holding the other end of the spring in place. The other side looks just the same, as you would expect:

Blade Guard Closeup

When Shouldn’t I Use Blade Guards?

  • For any extended period of time off the ice, it’s better to take the skates off and walk around in shoes rather than in skates.
  • Blade guards should never be left on the blades once the skates are taken off. The plastic/rubber can allow moisture to collect, and having water in contact with the skates in between skating sessions can cause rust to the blade and, if you have cork/leather soles on your skates, rot to the soles and heel.

Blade guards get put on when the skates get put on, and taken off when the skates are taken off.

Additional Tips

Put Your Name On Them

At the very least, I’d suggest using a Sharpie to put your initials somewhere on the blade guards. There are only a few common types of guards that I see regularly, and that means lots of duplication between skaters.

Clean Them!

Dirt and grit can get inside the blade guards, and walking on guards with grit inside can also cause damage to the blades. To that end, I suggest cleaning them out regularly to keep the insides as clean as possible. You can’t avoid all damage to blades (even on the ice), but minimizing risk will help keep the blades in good condition for as long as possible.

Welcome to SkaterDad.com

My name is John, and two of my children are taking ice skating lessons (figure skating, specifically). They’re still in their first year of skating but it’s a terrifically enjoyable sport and I’m living vicariously watching them glide around the ice.

Why this site? Well, I’m somebody who wants, as much as possible, to do the right thing for my ice skaters. I want to buy the right skates; I want to understand what equipment and clothing the children need; I want to know enough that I won’t be bamboozled by a slick sales person. My experience in trying to gain information, however, is that there seems to be an awful lot of tribal knowledge around ice skating, and many assumptions that parents will just understand what to do and how to do it. I’d like to do my best to fix that by sharing what I have found out, and getting your comments back too if you know another way to do something, if you have a tip to share, or in particular if you think I got something wrong.

Don’t get me wrong, there are plenty of helpful people around the ice rink, but getting somebody who can explain everything is just about impossible; I’ve had to build up what knowledge I have from multiple sources and put it all together myself. Maybe, just maybe, I can save one other parent or guardian that frustration. I’d like to hope that I can learn along the way as well!

I probably don’t have to spell it out, but just in case: I am not a professional skate tech or skating coach; I’m a parent trying to figure out what on earth to do for my kids. On that basis, while I try to give good advice and accurate information, I cannot be held liable for anything that happens to you as a result of anything posted on this site. Errors and misunderstandings occur; I will do my best to validate the information I post, and you should do the same.

If I have included Amazon links to products under discussion, I will be up front and disclose that they are affiliate links (i.e. if you follow the link then purchase the item, I may get some small percentage of the purchase price from Amazon). That said, Amazon isn’t the only place selling skating equipment, and there may be other reasons to shop elsewhere (e.g. supporting a local business). It makes no difference to me; the affiliate links are just there because if you happen to want to throw me a bone if you found something here helpful, I’d appreciate it.

Please don’t hesitate to share your comments and suggestions. I’d love to hear from you!

John.